So you want to enter a gravel grinder event like Tour of the Battenkill, but you're worried that you don't have the skills necessary to compete? Maybe you want to turn down that dirt road that you've passed a hundred times on your rides but you're nervous about staying upright on the gravel? Or perhaps your goal is to tackle some tough, unpaved backroad climbs like those in the Vermont Green Mountains to prove how tough you are?
You're not alone. Gravel grinder events have witnessed a meteoric rise in popularity in the past few years. They have even spawned a completely distinct line of bikes and equipment. The best equipment in the world won't help you if you don't know how to train for a gravel grinder, though. I'll show you what you need to succeed.
Gravel Grinder Success Is In The Preparation
Many people think that success in a gravel grinder race or event like Battenkill comes on race day. In fact, you can lose an event or miss a target goal by not prepping yourself for success along the way. Whether you're nervous about riding on dirt roads or how to handle your nutritional requirements, I've got a few tips to help set your mind at ease and prepare you for the worst dirt roads you can imagine.
Click through the jump and pick up 6 tips to get you gravel grinding with the confidence of an off-road veteran.
 1: Learn to ride on dirt
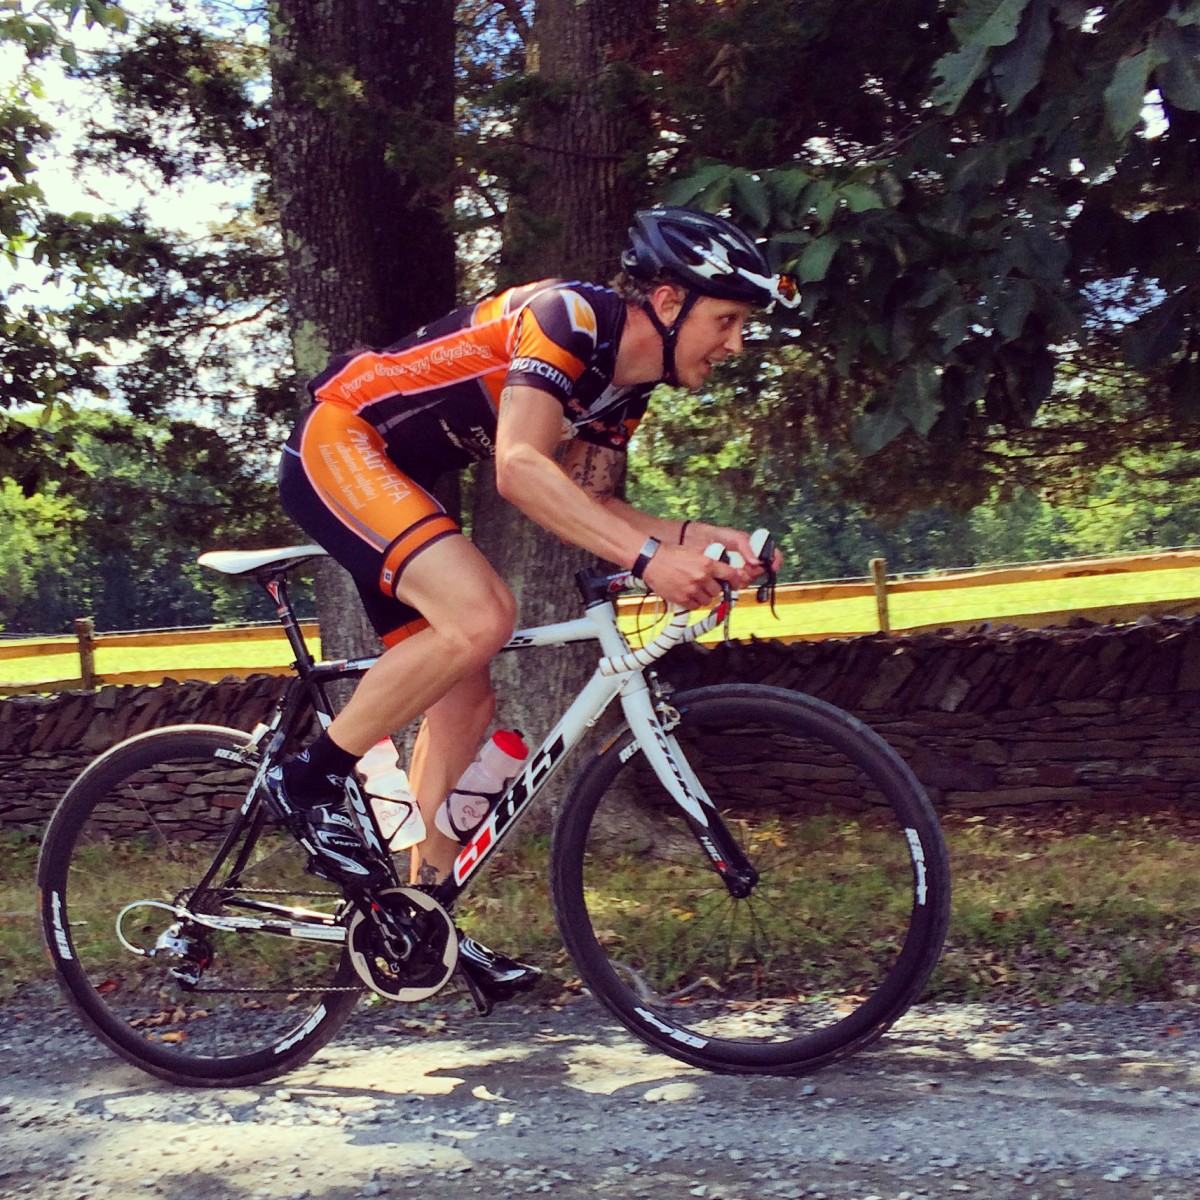
Riding on dirt and unpaved roads is similar to riding on pavement, but entirely different at the same time. Just like pavement, you'll want to watch for the best, smoothest line of travel, free of potholes and broken surfaces. The problem is, on unpaved surfaces, you're likely to have a higher percentage of potholes, sand, loose gravel and dirt, mud and dust. All of those hazards can combine to make traction iffy at best, so you need to adapt your riding technique a bit to handle the loose surface.
Position wise, get familiar with your drops so you can keep your center of gravity low. It will force your bike to track a little better and any sudden sideways slide (when you hit a stone and roll to the side a bit) will be muted. Maintain traction by sliding your butt back to the rear of the saddle and push through your glutes and hamstrings more instead of through your quads.
Cadence wise, stick to a lower cadence with a nice, even pedal stroke. A quick pedal stroke has the potential to create a lot of torque during the power phase, leading to a loss of rear wheel traction. The lower cadence and more pedal tension will make sure the force put through the rear wheel is more even, keeping it from sliding out.
On the climbs, stay seated as much as possible and keep the power evenly applied, otherwise your wheels will be slipping. It pays to get nice and low here as well, keeping the weight distributed over the rear wheel to maintain contact with the ground. Even the best gravel grinder riders have a tough time when their rear wheel is spinning and they lose all their momentum.
For a few more tips about riding dirt roads and gravel grinders, check out this post.
2: Prioritize training muscular endurance
Because gravel grinder routes are generally full of dirt, gravel, sand, dust and mud, rolling resistance is much higher than on smooth pavement. That puts a significant burden on your muscles to guide you through the rough terrain. Most first time gravel grinders find themselves getting bogged down and suffering more than they expected, mainly because they haven't prioritized their muscular endurance.
Muscular endurance is simply the body's ability to continually produce sub-maximal contractions without fatiguing. If you've ever bonked, cramped, or simply had your legs feel empty, you know what it's like when you overrun your muscular endurance capacity. In layman's terms, muscular fatigue is caused by lack of energy molecules (ATP) in muscle cells, nervous system fatigue that causes uncoordinated and uncontrolled muscle contraction and high concentrations of acidity in muscle tissue. This all combines to shut your muscles down when you need them the most.
Since the roads of a gravel grinder offer far more resistance, you'll find your muscles under tension more frequently. You'll need to train that ability early and often if you hope to conquer your gravel adventure. You'll need to train muscular endurance at all kinds of intensities, from tempo and sweetspot to VO2 max and anaerobic capacity. How would you go about this? Typically, you'll want to ride lower cadences and higher pedal tensions, no matter what the actual FTP percentage you're riding at.
3: Be prepared for varying road conditions
As I mentioned above, a typical gravel grinder ride or race like Battenkill will very likely feature a variety of dirt road conditions. Along the way, you may see deep sand, loose gravel and dirt, hard pack, large size road gravel, mud, dust and pretty much any combination of those all in one ride.
You'll want to try and experience each and every one of those conditions in training. You don't want to be surprised come race day when you suddenly turn onto a slippery, muddy stretch of road and have no idea how your bike will handle it. Remember that each road condition will mean different things for handling and climbing, so be prepared for each condition and learn what skills you need to apply in each situation.
4: Prep your equipment
Gravel grinder conditions can vary wildly, so being prepared for any eventuality is an important part of your pre-event routine. If you're using clincher wheels, you should consider using a wider tire to increase your comfort level and traction in loose conditions (I like the Vittoria Rubino Pro 28mm tires which I reviewed here, and the Schwalbe Duranos which I've been riding a lot recently.) The wider tire not only increases your handling ability by giving you a wider footprint, but it also provides some degree of comfort and pinch flat protection as well. If you're running tubulars, you don't have to worry as much about pinch flats, but you should still consider adding some sealant to patch up any punctures before the tire flats out.
In terms of selecting gearing, a lot of gearing choices will be dependent upon the par course of the event you're riding. For some events like Battenkill or the D2R2, I recommend you ride a cassette with one cog bigger than your average gearing (steep climbs, often on poor road surfaces will dictate slightly different gearing.) If you're riding something like the Dirty Kanza (which is much flatter by comparison) you can generally get away with your typical gearing, or even going to a slightly smaller cassette if you want closer ratios.
As always, be sure your bike is in good working order, with a chain that won't break, new-ish and tuned up cables and shifting, new-ish brake pads, etc. Be sure that any changes you make are sorted out on training rides for a few weeks before your event. Never break the #1 rule of riding new equipment on race day!
 5: Sort out your nutrition
Nutrition is a very individualized part of your training and competition preparation. Every cyclist has a specific nutrition protocol that works for them and may not work for the next guy. Some people like to work within a high fat, lower carb diet, some prefer a traditional nutritional plan that relies on higher carbohydrate loading and maintenance. Whichever one works best for you, make sure you test your specific fueling strategy prior to your event.
Keep in mind that when I say to test your fueling strategy prior to your event, I'm advocating you test your fueling in a way that mimics your event. For example, in my Battenkill training plan, I plan a “training race” on the 21st week of the training program. That “training race” is designed to allow you to test your fitness, get used to the length of the race and, of course, test your nutritional strategy. Granted, it's not the same as taking a feed in Battenkill, but you can at least figure out how many calories you'll need to take in and how often you'll need to eat in order to maintain good energy balance throughout the race.
Continuing on the theme of eating on the bike, an important thing to consider is what kinds of foods can you handle on the bike. Are you able to eat real food you packed in your pockets or does your stomach prefer gels and liquid nutrition. In most cases, only about 20% of your calories should come in liquid form, since your body can't absorb hypertonic solutions all that well in volume. You'll need to sort out what kinds of food you're going to carry, how much and how often you'll need to eat, and you'll want to do that in training. Just like I told you to never break rule #1 in the last section, never break rule #2: don't try new nutrition products or new fueling strategies in an event if you haven't tried them in training.
6: Ride a mountain bike
Some of you might be wondering why I'm advocating you get on a mountain bike when most gravel grinders take place on road bikes. Mountain bike rides can give you a lot of confidence when you transition back over to your road or gravel bike later on. The reason it works so well is that mountain biking, particularly on loose, off camber or other challenging terrain will challenge the muscles and reflexes necessary to handle loose gravel and dirt on your road bike. Not only will you challenge the reflexes and muscles needed to corner in loose terrain, you'll gain an appreciation for the limits of adhesion your tires possess. That's a fancy way of saying you'll learn what it feels like when your tires start to slip and break away, and how to handle that.
In terms of muscle development, most road cyclists (the ones that don't venture off road) don't tend to use their upper bodies much to corner or handle loose terrain. In contrast, the mountain biker is constantly engaging their entire upper body, lower body and core to keep the bike moving and keep their tires under them. People who cross over will gain a huge appreciation of how to use their upper body and core to stabilize the bike, initiate turns and “row” the bike through tough terrain like dirt covered climbs and through deep sand and gravel.
Mountain bikes have much larger tire contact patches, knobby tires and (in most cases) some kind of suspension to help you tackle rough and loose terrain with confidence. Because of these features, you can build skill and confidence handling the worst terrain possible. Once you've tackled a loose, dusty, shale-covered corner on a screaming descent, you'll have no trouble handling a patch of gravel on your road bike.
Get out and grind some gravel
With these tips in mind, gravel grinder events should be a snap to conquer. There are whole websites dedicated to gravel grinder events, such as the RidingGravel.com event page or the BikeReg Gravel Grinder Event Page. Even if you don't want to sign up for a specific gravel grinder race or event, you shouldn't be afraid to turn down that dirt road you pass a couple times per week and go exploring. You know you'll have the tools to handle it.
If you're looking to jump into gravel events, but you're not sure what fitness requirements you'll need, take a loot at my downloadable training plan store. I've got plans that will take you from timid to terror on the dirt, including my Battenkill training program (which is perfect for any gravel grinder event, not just Battenkill) and my full season and advanced full season training programs. You can prep for those rough rides with my Unbreakable Core Stability module and Raw Strength training plan, which will give you the muscular endurance and power production to hammer through the roughest terrain.
Finally, if you want even more tips on gravel grinding technique, you can also get a ton of great material (including a free training plan) by signing up for the Tailwind Coaching Newsletter. Get my best coaching tips delivered to your inbox, along with a free bonus training plan, updates, and exclusive discounts! Don't forget to post any questions to the Tailwind Coaching Facebook page, on the Tailwind Coaching forums, contact me via email or leave a comment below.