So many cyclists rely on Garmin units to direct them in their riding these days; gone are the days of consulting a paper map and cue sheet. Not to mention that getting lost and asking for directions is basically a thing of the past. No, now we can sit in the comfort of our own living room and plan a 50 mile ride, but with the myriad options out there, which one do you choose? This go around, we'll have a look at RideWithGPS.com and explore some of it's features.
Overview
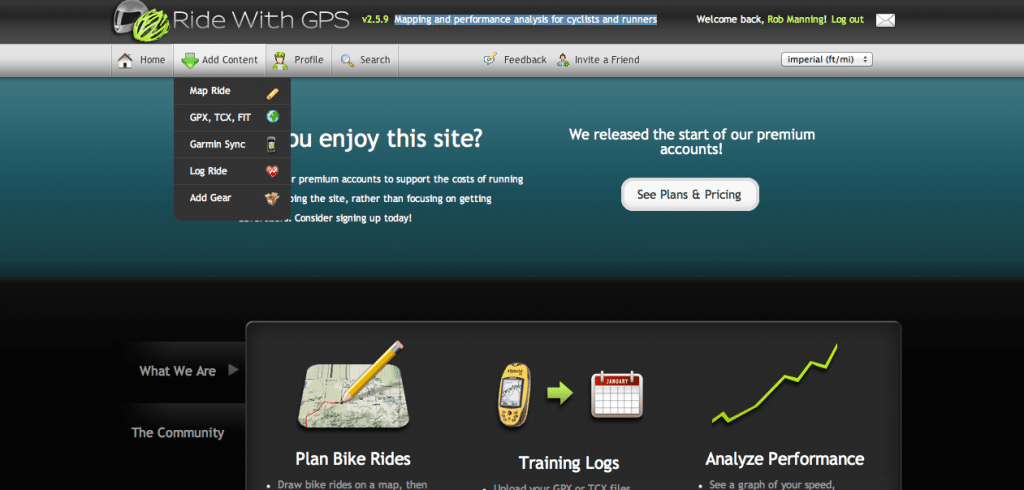
Opening the RideWithGPS page brings you here, which is your launch pad for mapping routes and viewing your old routes. For the purposes of this review, I'll stick to the mapping portion of the website, but in reality there are a huge number of tools available for sharing your ride, analyzing your performance, managing your Garmin device and plenty of other little gadgets.
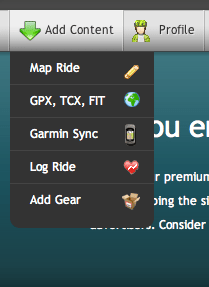 “Add content”
The “Add Content” menu is your launch pad for many of the site's functions: from here you'll log rides, manage the equipment you use, transfer to and from your Garmin device, manage your files and map your rides. The simple pull-down menu is available site wide: no matter what screen you're on, you'll easily be able to navigate to any other portion of the site.
In our case, we'll be dealing with the top option, aptly titled “Map Ride” which will take you to the mapping screen and enable you to start plotting your routes.
Plenty of data
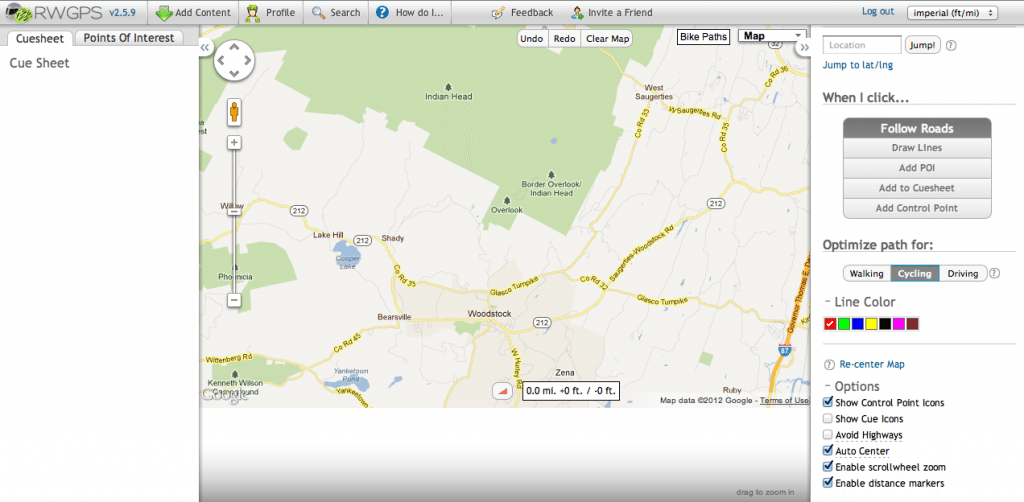
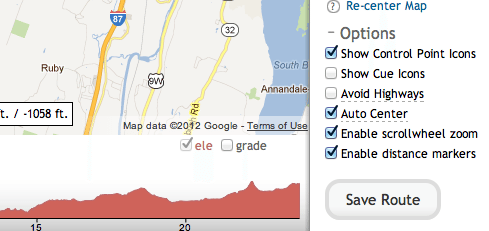
After clicking on the “map ride” option in the Add Content menu, we're delivered here. A quick scan shows us the current cue sheet on the left, a large clickable map in the middle (with elevation profile below) and various options on the right. In most cases, you'll stick with the “follow roads” option, using “add POI” occasionally for KOMs, sprints, rest stops or what have you, and you'll optimize your path for cycling (which tends to keep you off highways and prefer bike paths where available.) The options below the “line color” choice are pretty much self explanatory and there is an option at the top of the right column to jump to a specific location (either ZIP code or city/town name.)
Point and click
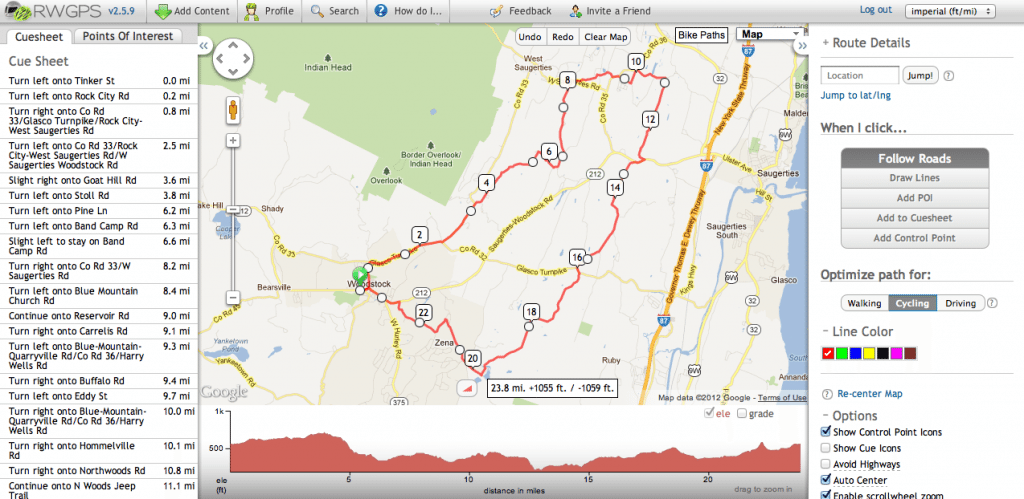
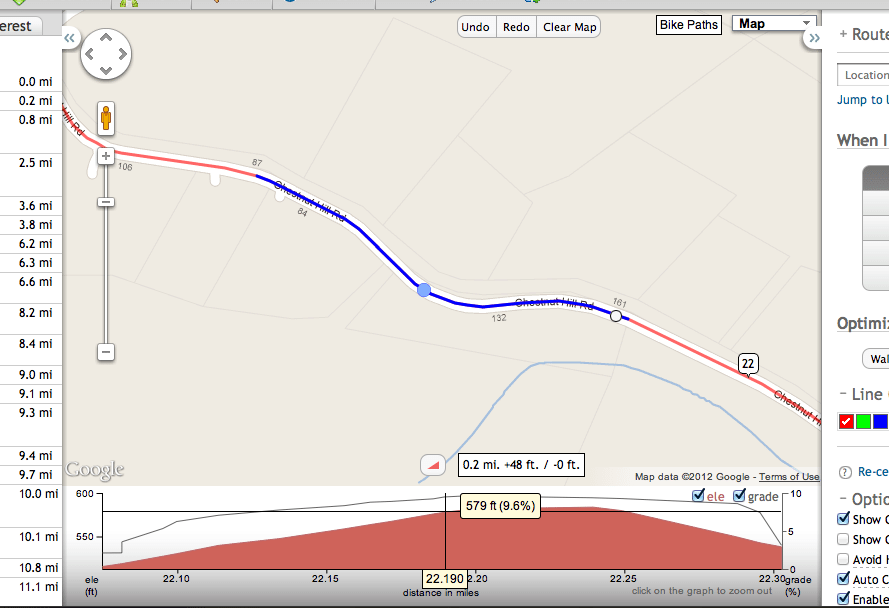
Once you've clicked around on the map, you'll end up with something like what is shown above. You'll see the cue sheet is automatically fleshed out (and can be downloaded and printed) as well as the elevation profile being drawn. You can see (by drawing or clearing route segments) where you'll climb and how steep it will be. The nice thing about RWGPS is that you can mouse over any point on your route and get information about the grade and elevation at a glance. If you find a particular climb that you want to view in greater detail, you can click and drag over the climb on the elevation graph to get a zoomed in view, such as shown below:
In this case, you'll see the elevation information, gradient, position on the map and the length of the segment. In the upper right corner of the elevation profile, the checked “grade” box shows a line graph representing the average gradient in percent over the length of the segment.
Saving and view your routes
One of the most important things to remember is that once your route planning is complete, you have to save it before you can transfer or use it on a Garmin device. By scrolling down the right hand menu, you'll find the “Save Route” button; clicking it will take you to a window where you can name the route and select options such as making the route public/private.
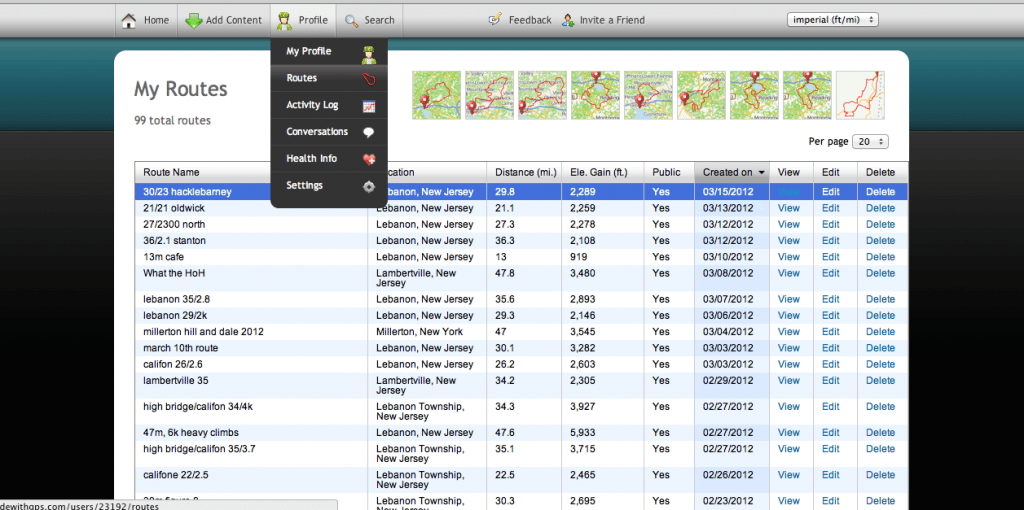
So, now that you've mapped a whole bunch of routes, how do you view them? Easy, you'll want to head back up to that easy to use menu bar, select the “Profile” menu and then click on the “Routes” option. This will bring up a listing of all the routes you've created, which will look something like this:
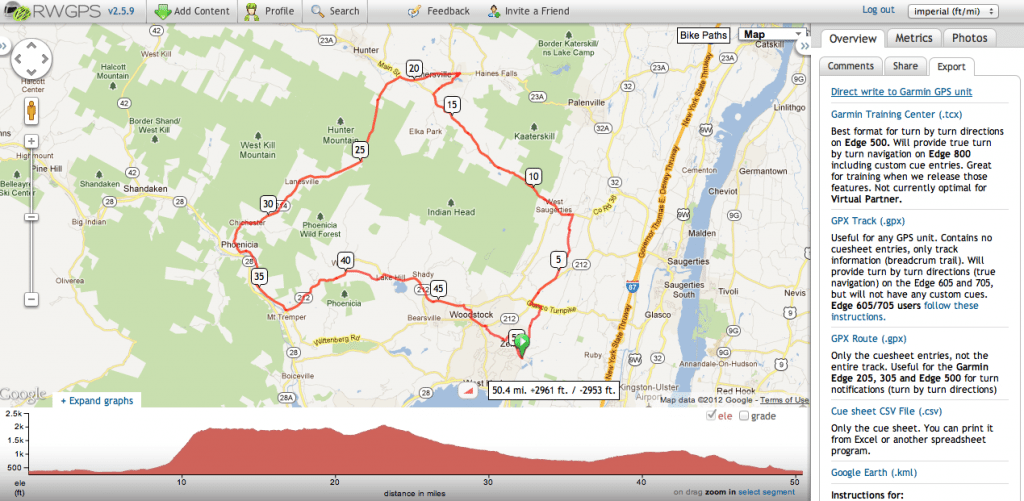
From here you can view, edit or delete each and every route that you've created. You can also see the location, distance, elevation gain and privacy status. In any case, to get your routes, you'll want to “View” the route, which will take you here:
From here you can either plug in your Garmin and sync it with RWGPS, or you can download the route as .tcx, .gpx or download a cue sheet file (to import into Excel) and utilize the files from there.
While far from exhaustive, this overview should give you the basic tools to go over and play with their mapping software and use it to further explore your surroundings. Combined with my tips on planning the perfect route, you should have all the tools necessary to go on some new adventures without being surprised by what may be ahead of you.
Excellent article. For sure RWGPS is paving the way for ride navigation. I remember when I first rode with you, you had emailed the route to everyone ahead of time, which was really useful. I think RWGPS is definitely the best online mapping/route analysis site out there at the moment in terms of both ease of use and accuracy. Once I saw what you sent I’ve been using it ever since.
Another way of gleaning good information about elevation and incline grade % etc. is, once you have zeroed in on a section, on the right hand panel, there are three tabs going horizontally across the top, ‘Overview’ ‘Metrics’ ‘Photos’ (You can see them in your last screen capture above). Once you have selected a section in the red elevation profile map, if you click on ‘Metrics’ it will tell you the Selected Distance, Elevation, Max. Grade % and Avg. Grade % of the selected section.
Another small tip I would throw in (based on my own experience) would be that when mapping a ride, to be fairly close in when clicking on roads, as sometimes, I’ve found if one is too far out, the route line may jump past a turning then jump back to it, which can sometimes create weird and inaccurate directions on the cue sheet. That said, whenever I do map a ride, I always take time to scroll along the route, checking to see that the cue sheet correlates correctly to the turns and road names etc.
I think it can never be underestimated how important it is for riders to take time to go over a route map prior to embarking on a ride, either solo or within a group, to get a general sense of where they are going and the degree of difficulty of the climbing etc. The number of riders who still turn up to the rides I lead with absolutely no clue as to what the route is, no .gpx or .tcx in their Garmin or Smart-Phone AND no cue sheet, blows my mind.
A great article Rob and many thanks for putting it together.
Hi Rob,
Nice blog entry. One question I have is dealing with the discrepency between RWGPS and my Garmin unit. The last ride I uploaded showed about 1,800 vertical from Garmin, versus 2,200 or so with RWGPS. Have you experienced this? If so, any thoughts?
I’m not entirely sure, but I would guess that it has to do with how elevation is measured.
Some Garmin devices read elevation changes via their built in barometer, some read elevation changes via GPS satellite, some average both (I think.)
The problem therein seems to be that GPS only elevation mapping can be iffy: sometimes there is a variance of +/- 3 feet, which can add up quickly.
As for which one is right, I usually go by what is uploaded from my Garmin, since the newer Edge units tend to be fairly accurate.