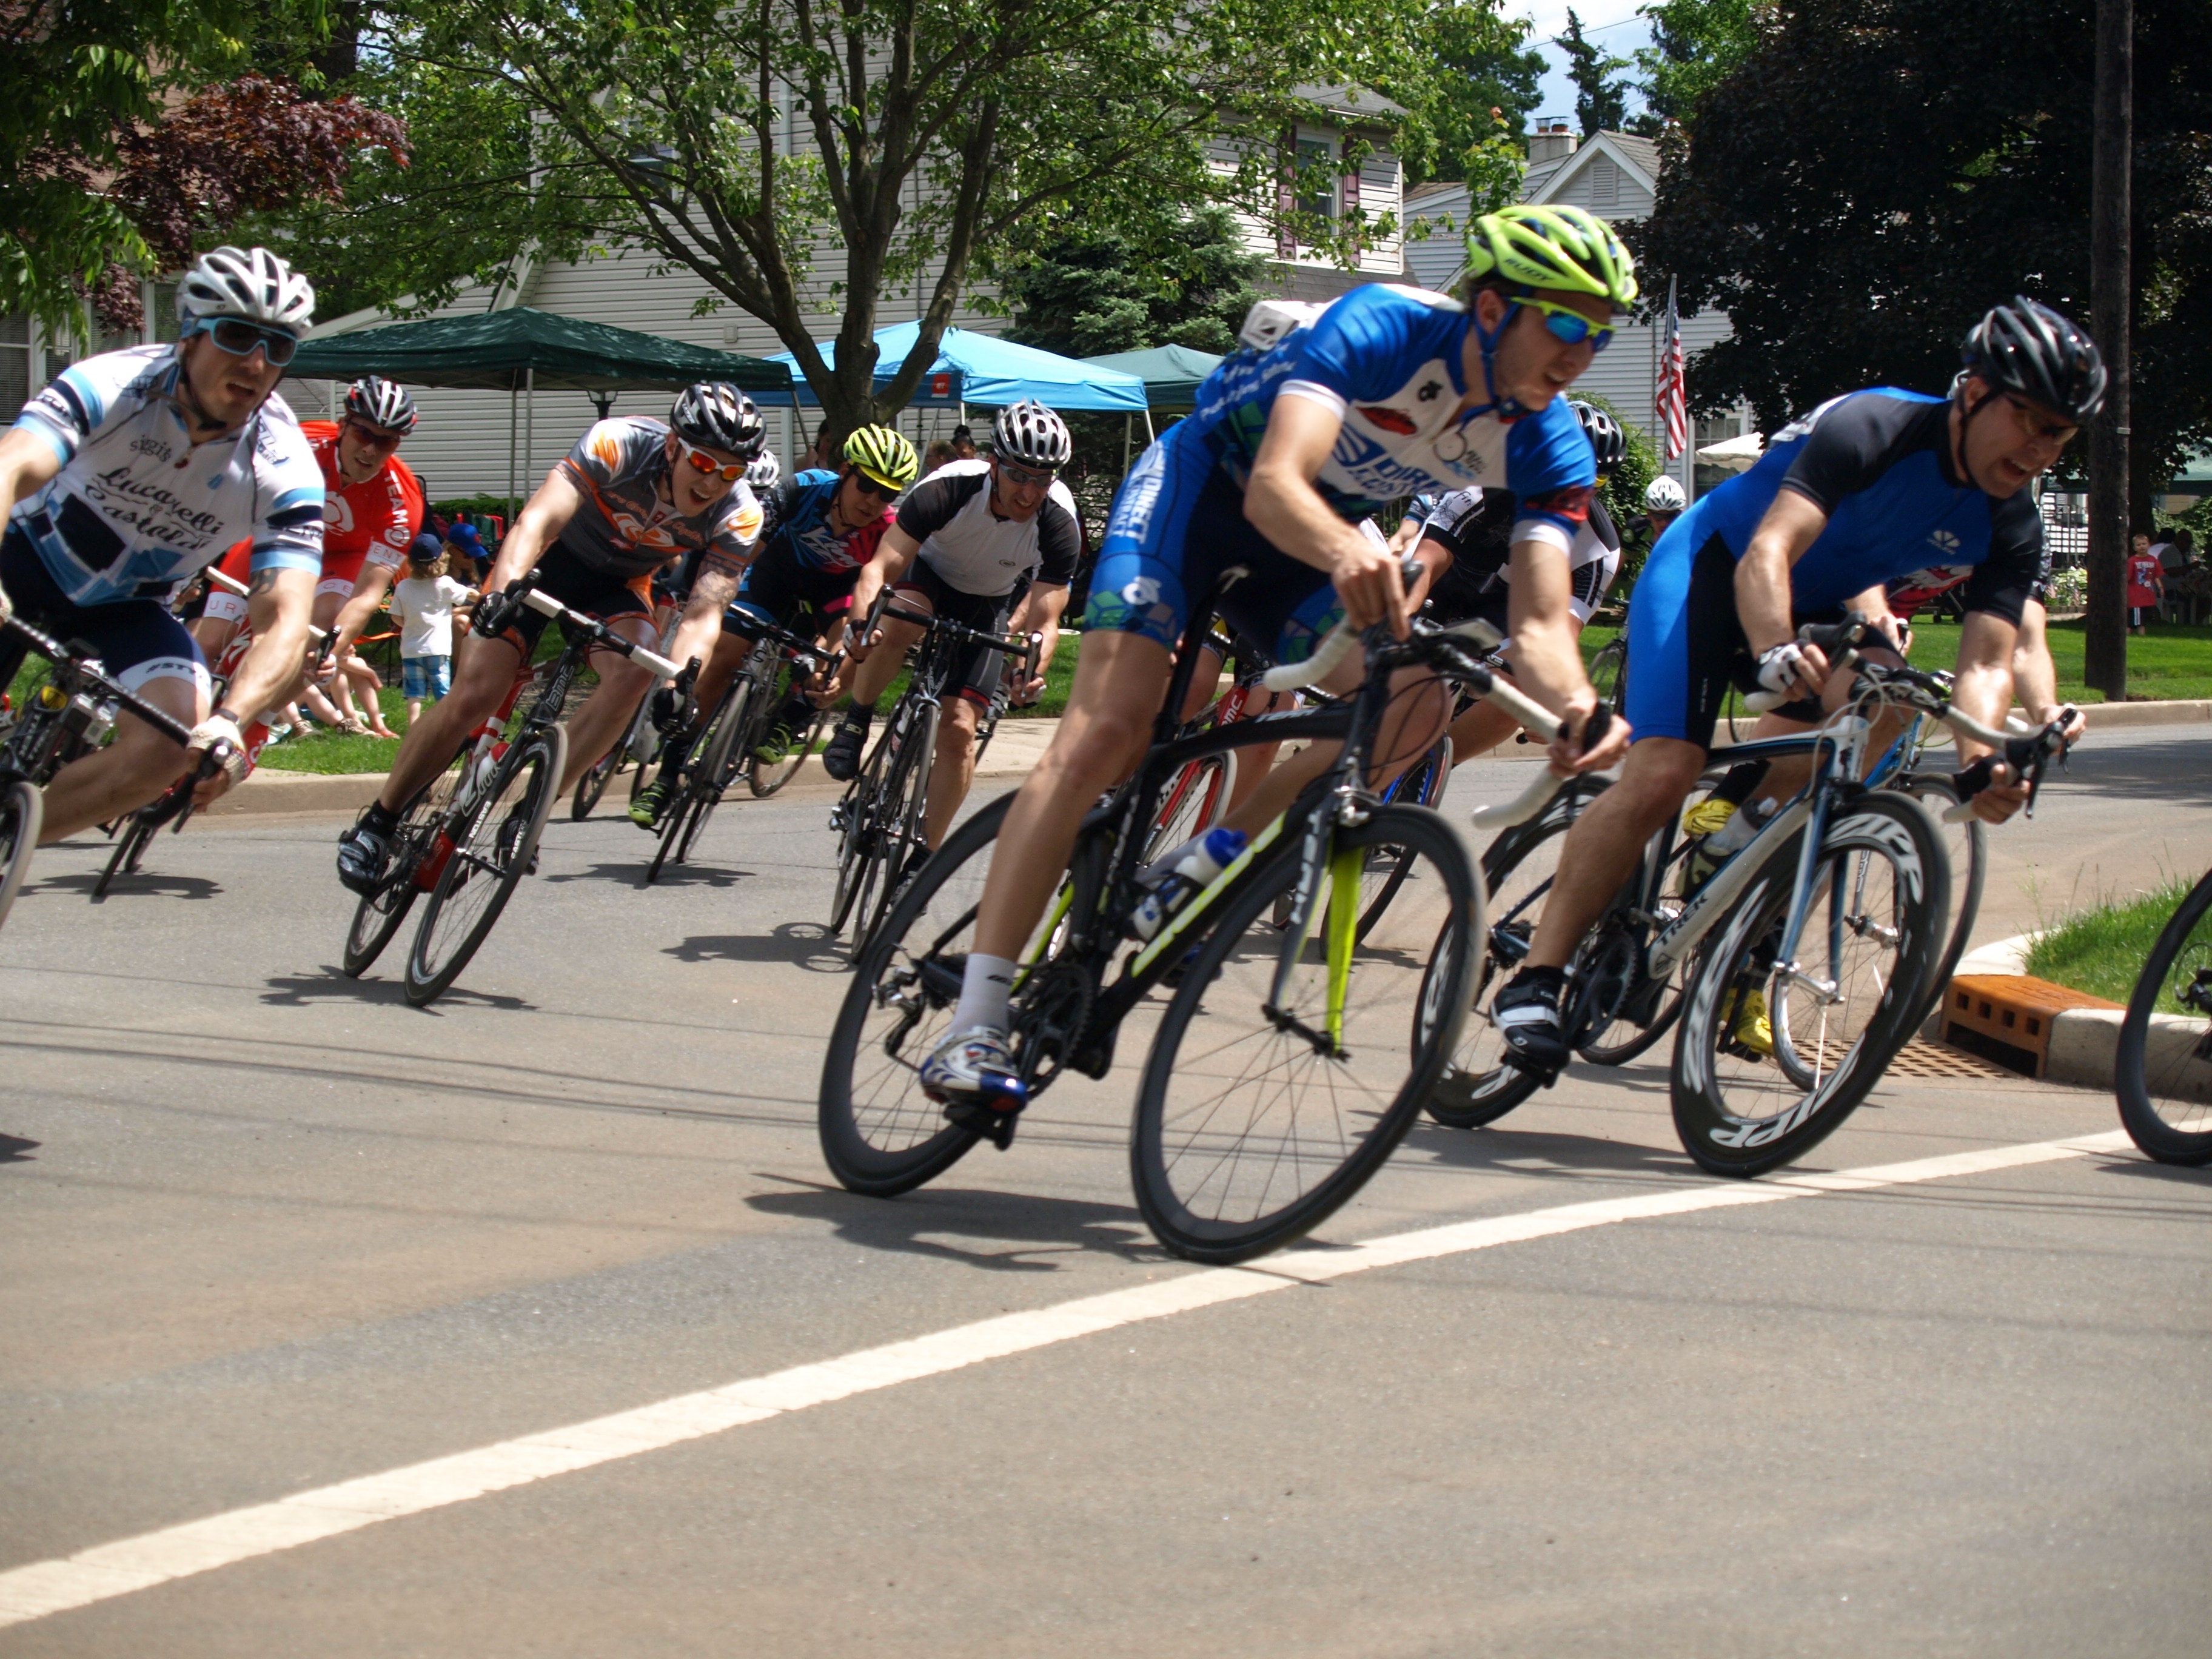
Cornering is an important cycling skill to master if you're going to ride efficiently (and safely) and understanding apexes is a critical part of cornering properly. Since there's so many potential spots for error, cornering is a fine balancing act comprising a number of different forces, but everything falls into place more easily when you can learn how to cut an apex properly, and how to choose the proper apex for each corner you encounter.
Cutting an apex allows you to do a number of things more safely, including carry a higher amount of speed into each corner. Knowledge of how to properly execute different apexes will also help to keep you out of trouble with traffic, prevent panic braking and set you up for any terrain that's beyond the curve in the road (even if you can't see it.) Proper use of apexes will also foster and encourage proper cornering skills like correct weight distribution and looking through the turn to the exit point.
In this excerpt from my upcoming “corner like a pro” online course, I'll diagram different apexes and explain the nuances of each one. Click through for more information and the key points to take home:
 Difference between early, middle, late apex corners
- Early apex corners involve braking earlier, diving into the corner earlier and taking an overall straighter line through the corner. Taking an early apex will force you to exit a corner wide, meaning you'll have to lean into the corner after the apex. You won't be able to get on the gas quickly due to that late exit. However, this may come in handy with strung together shallow corners (multiple corners of around 45 degrees) and if you're trying to take an outside line to come around the rider in front of you.
- Middle apex corners are the “swiss army knife” of cornering. You dive in a little later than the early apex, but far sooner than the late apex corner. You'll have to hit the brakes a little more before you dive in, and you'll be set up to exit right in the middle of the road. This kind of apex is useful in dozens of situations.
- Late apex corners are perhaps the most aggressive form of cornering. You'll brake late, dive in hard at the last minute, cutting across the back of the corner and come out close to the same side of the road you're traveling on (if it's a right hand corner, you'll exit near the right curb.) This is the “racer's” cornering, allowing you to exit in a very straight line and get on the gas quickly out of a corner. It's also remarkably useful in many situations on the road as it keeps you from drifting into other lanes of travel and keeps you safe.
How each apex changes your braking characteristics, exit speed and exit position
- Early apex corners require you to brake sooner, but not always as hard as other apexes.
- Middle apex corners require a little more braking a little later compared to an early apex.
- Late apex corners require braking harder still and very late before diving into the corner hard.
How apexes set you up for the next corner
- Except in cases of shallow corners (where an early apex may be appropriate) you'll want to use a late or middle apex to set up for the next corners. Remember, in the case of middle and late apex corners, you're setting up as far to the outside of the corner as possible. By sticking to middle and late apex techniques, you'll be set up far to the outside of either repeated corners in the same direction or repeated corners in other directions (chicanes).
How to use an apex to navigate a hairpin bend safely
- Hairpin corners are hazards most of us will experience at some point. There's nothing special about them; they're just two repeated 90 degree (or more) corners in the same direction.
- In the case of a hairpin, you'll need to properly execute a late apex corner, but instead of powering out of it as soon as you straighten out, you'll need to keep countersteering and leaning the bike through the second half of the hairpin.
- The continued countersteering and leaning will keep the wheels tracking on rails and you'll carve through the hairpin.

