Bicycle chain lube has come a long way in the past 20 years. Gone are the days of dripping 3-in-1 oil on your chain, wiping it with an old washcloth and calling it good. These days, chain lube is researched almost as much as any other component on your bike.
In the quest for “marginal gains, ” chain lube is one of the new frontiers. While aerodynamic gains are still the king of the hill in terms of gaining seconds during a time trial or race, chain lube efficiency can save a few extra watts. Combine those few watts with savings from ceramic bearings, derailleur pulley bearing, and pedal bearings and you could be saving 5-6% of your energy.
Friction Facts is one of the kings of evaluating your drive train efficiency. They have published tons of material on chain lube efficiency in the past. After doing some reading about the process, I decided to give it a try and see how effective (and long lasting) it is.
Check out my experience after the jump and learn how you can try this bicycle chain lube process yourself at home.
The Science Behind Efficiency
Every time you push the pedals on your bike, you're creating power in the crankset. Power is transferred through the geared rings on the crankset, a chain and toothed cassette cogs. The chain wraps around rear derailleur pulleys as well. The whole system allows power to be transferred to the rear wheel. Along the way, the friction in that system will cause some of that power to be lost. It's lost mostly because power is needed to overcome the coefficient of friction in the system (to move the individual chain links, spin the derailleur pulleys and during contact with chainring and cog teeth.)
Friction Facts publishes a lot of data on different ways to increase your drivetrain efficiency. They claim to be able to save you 78 seconds per hour by addressing drivetrain efficiency. By downloading their reports package, you'll learn how to save 4+ watts on chain lube, 3 watts by avoiding cross chaining, 1.8 watts on your bottom bracket and 1.3 watts for your derailleur pulleys. If you took just those 4 items, you could save 10+ watts on your next ride. For many people, that's close to 5% of their functional threshold power.
When you're trying to squeeze the maximum possible fitness out of your body, there's no reason to neglect a drivetrain that's sapping your wattage.
After reading through the Friction Facts efficiency reports I decided to give the process a try the next time I needed to replace a chain.
Homemade Bicycle Chain Lube
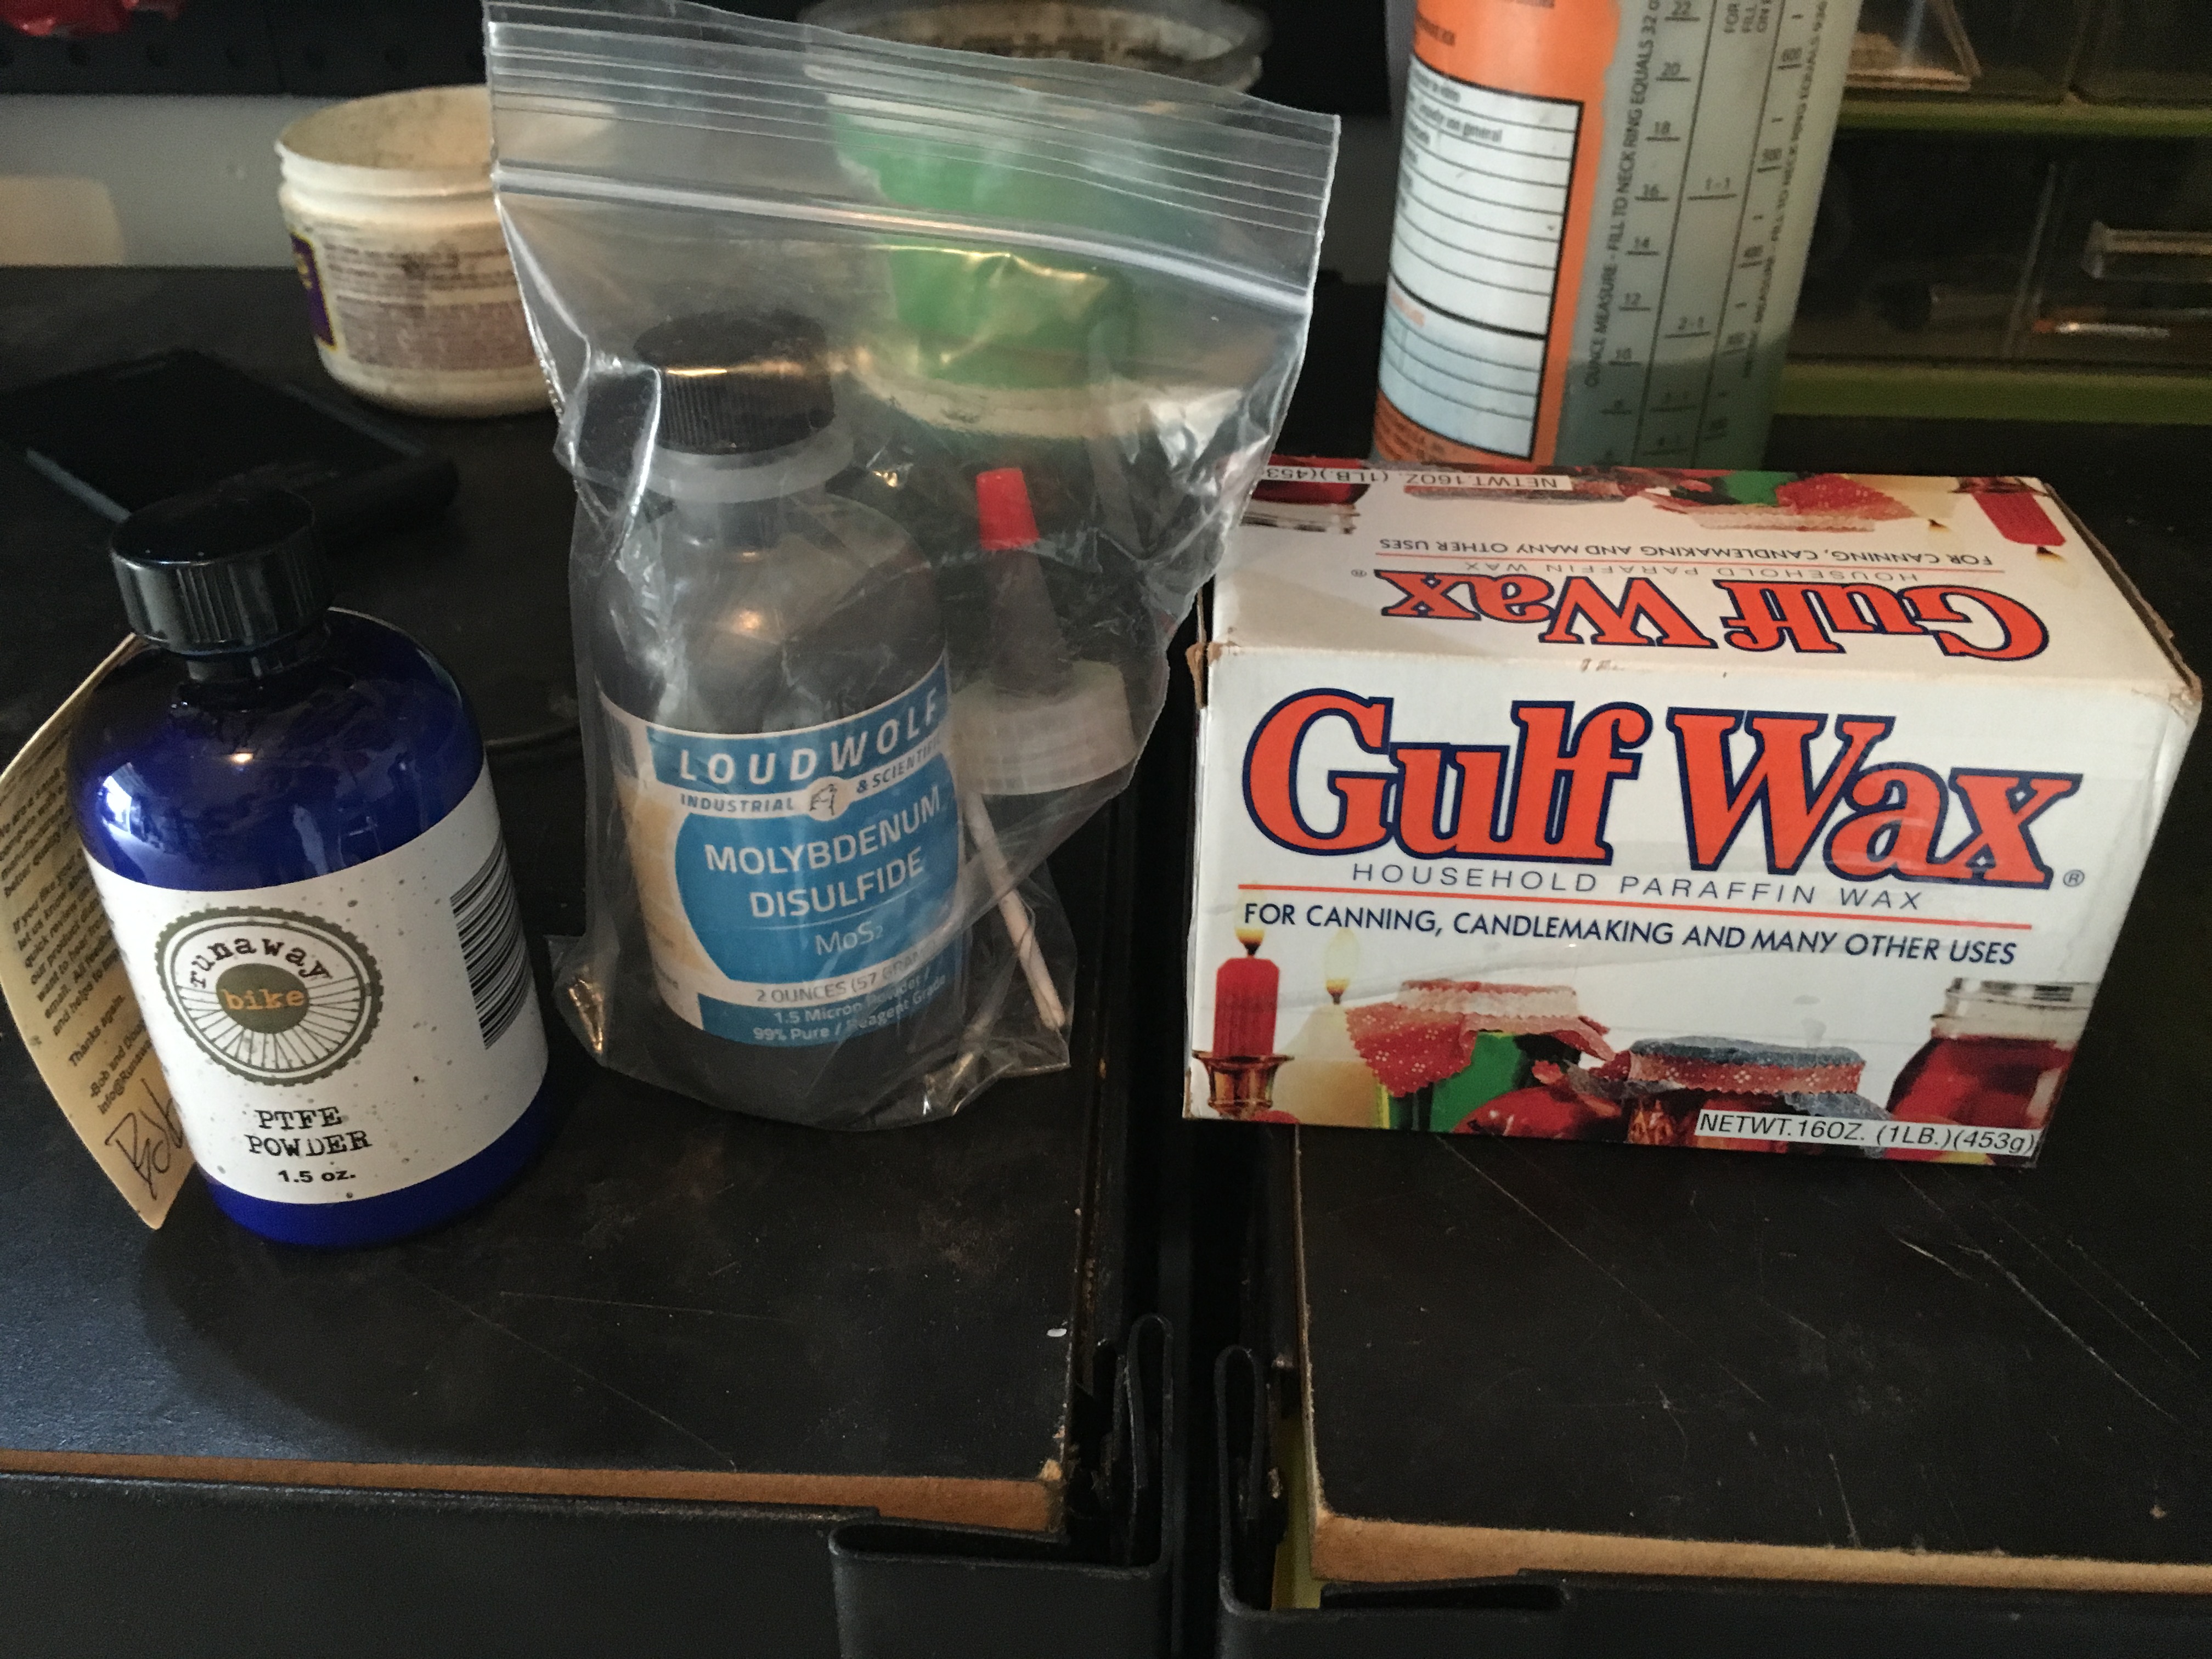
In order to wax a chain with the Friction Facts chain lube process, you'll need a few ingredients. You can easily find them over at Amazon, and I'll give you links to them below.
The Friction Facts Bicycle Chain Lube Process
Now you have the ingredients to make your super slick, homemade bicycle chain lube. I'll walk you through the process of making it in the next section.
Clean the chain
The Friction Facts process is based on the concept of getting paraffin wax lube into the chain internals. If a chain is dirty, there's already dirt and old lube taking up space in the rollers and other crevices. For that reason, it's important to start with a chain that is completely devoid of lube. A chain that doesn't have lube in the crevices will wear faster and rob you of precious watts.
For cleaning, Friction Facts recommends ultrasonic agitation in
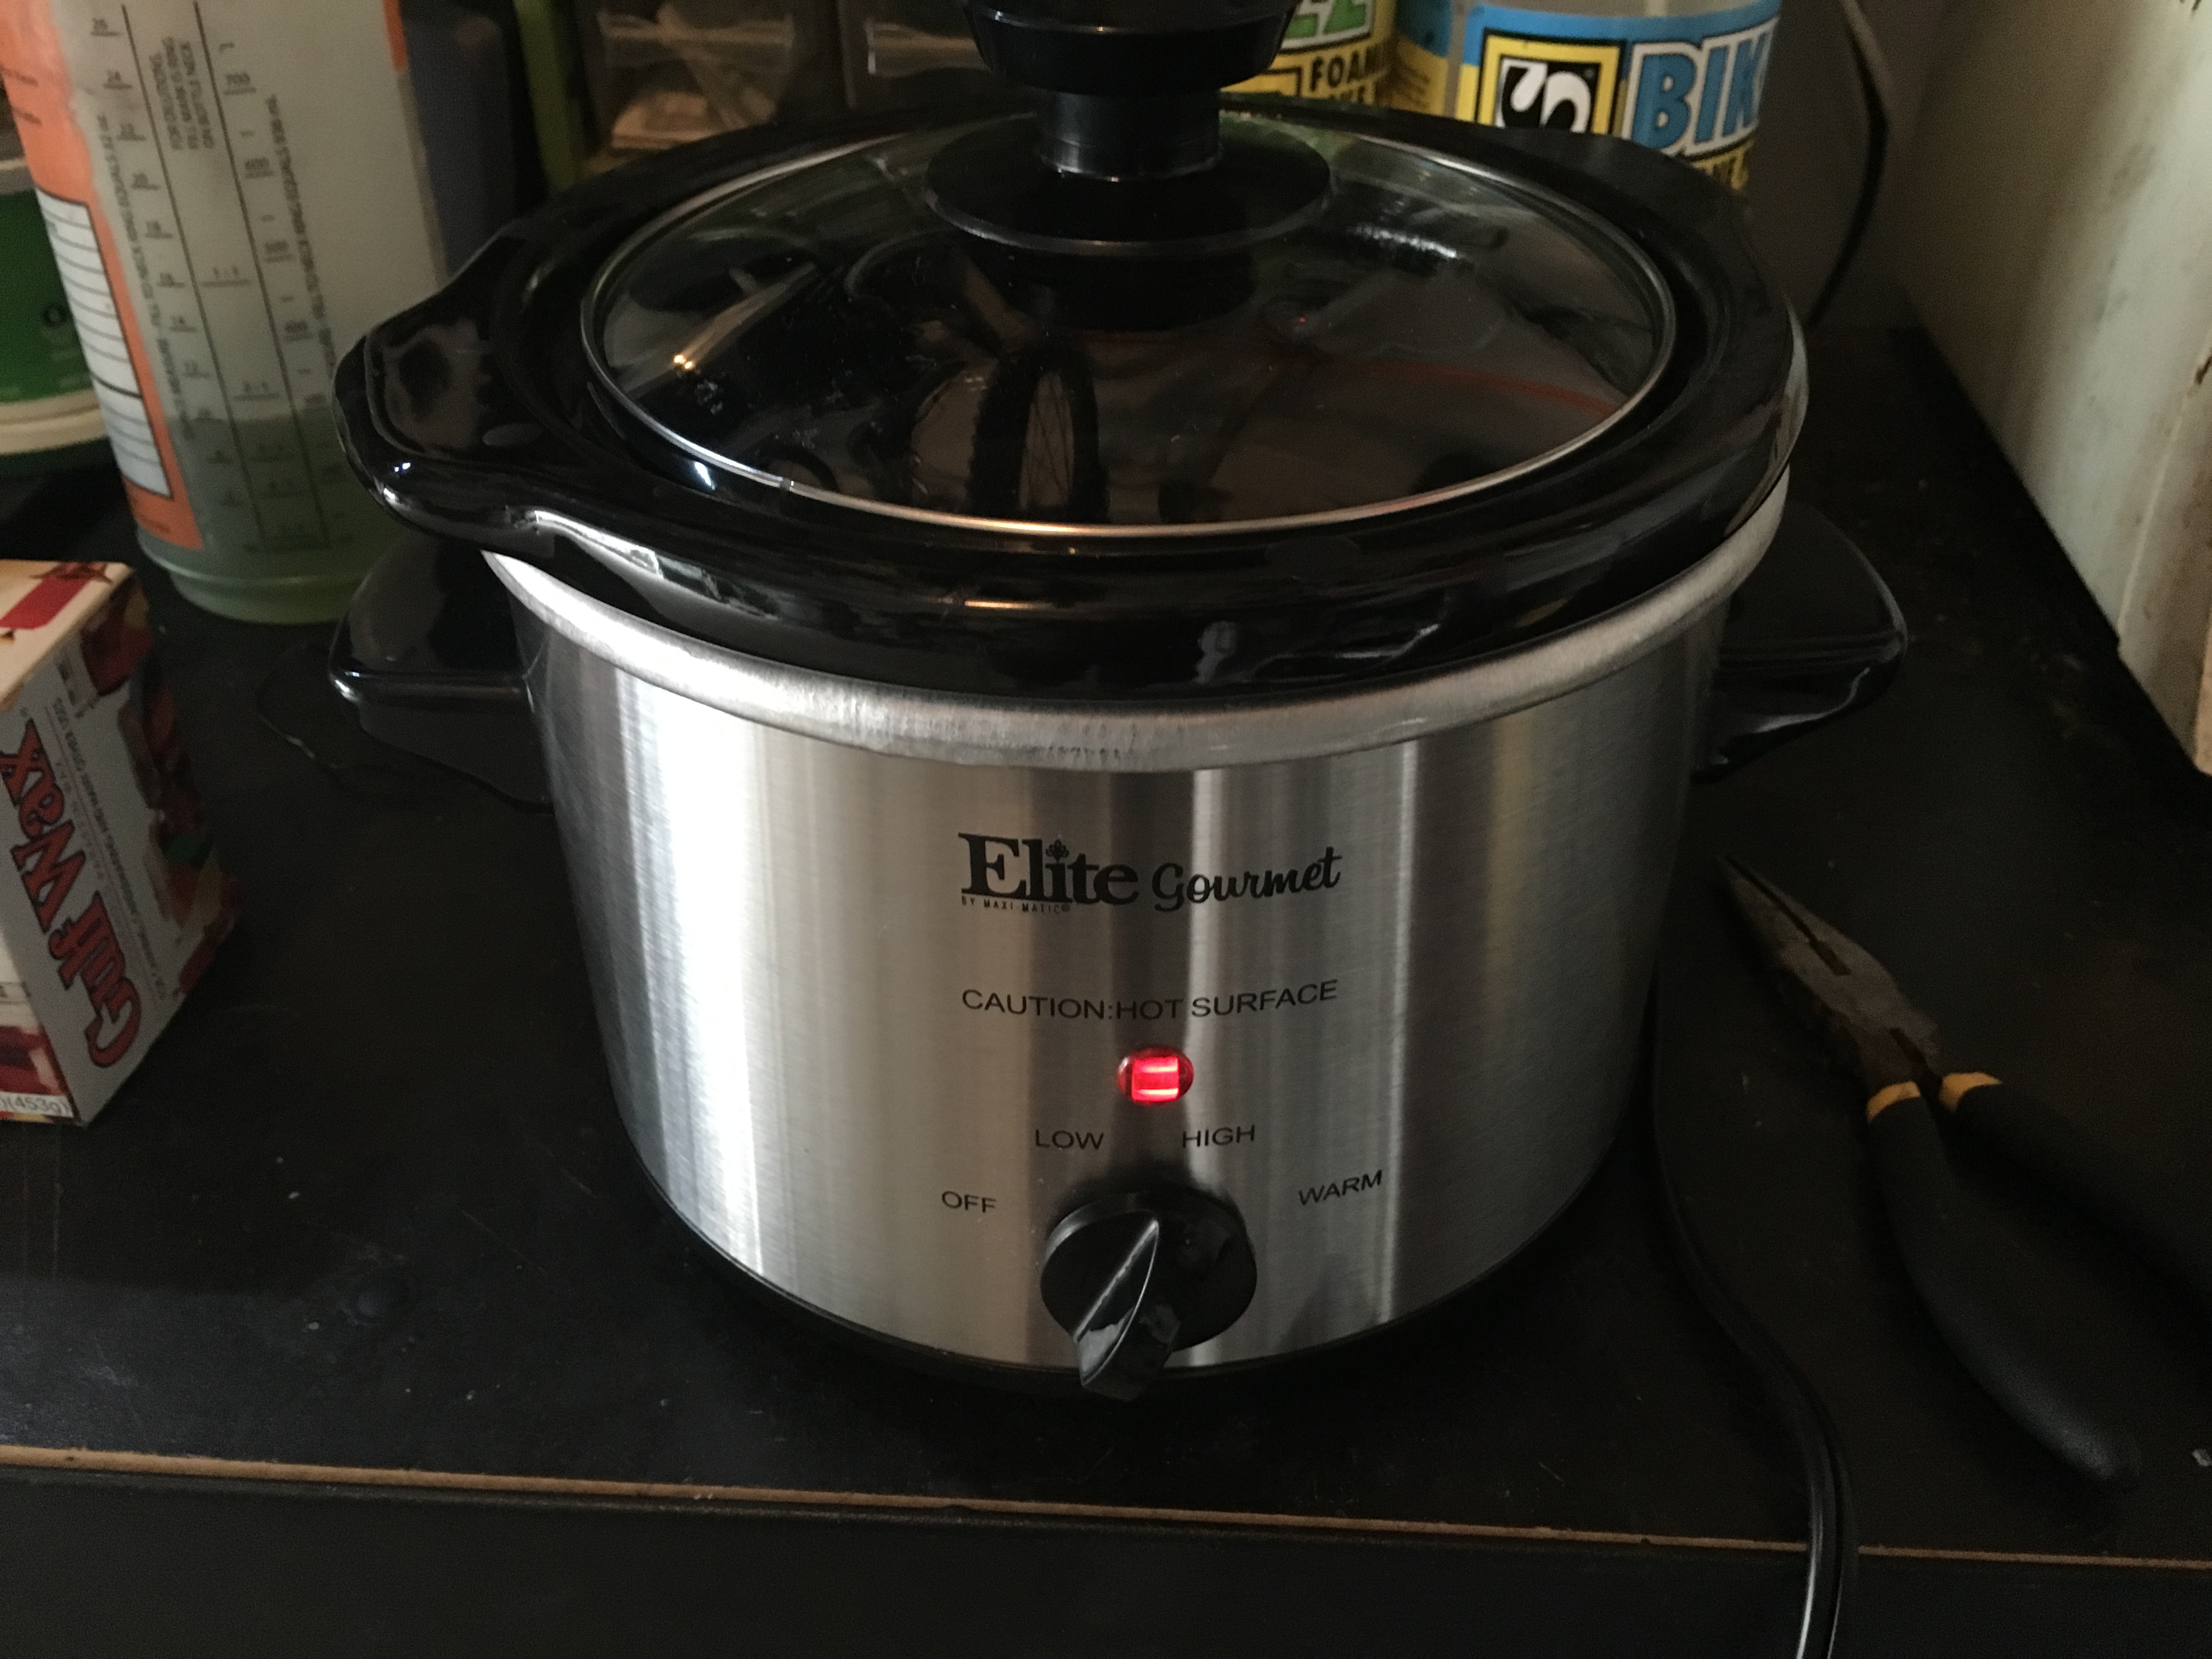
Heat the wax
Fire up your crock pot and drop in the blocks of paraffin. Depending on the power of the crock pot, it'll take anywhere from 15 to 45 minutes for the wax to liquefy. You want a nice, uniform texture (it will seem a little bit watery if you dip something into it) with no chunks of wax floating.
Mix in your lubricants
If you're using MDS and/or PTFE, measure out the proper amount of each. You're looking for 1 gram of MDS and 5 grams of PTFE powder, and you can measure with a simple fine kitchen scale. To combat the mess (and the fact that MDS tends to permanently stain anything it touches) I measured out the lubricant powders into an old spice jar to keep the mess to a minimum.
Once the paraffin has liquefied, simply dump the lubricants into the hot wax. You'll want to vigorously stir in the powders to combine them as much as possible. Friction Facts recommends a battery powered milk frother, but I've made do with just an old chop-stick or a screwdriver.
Heat the chain
Remember your toaster oven?
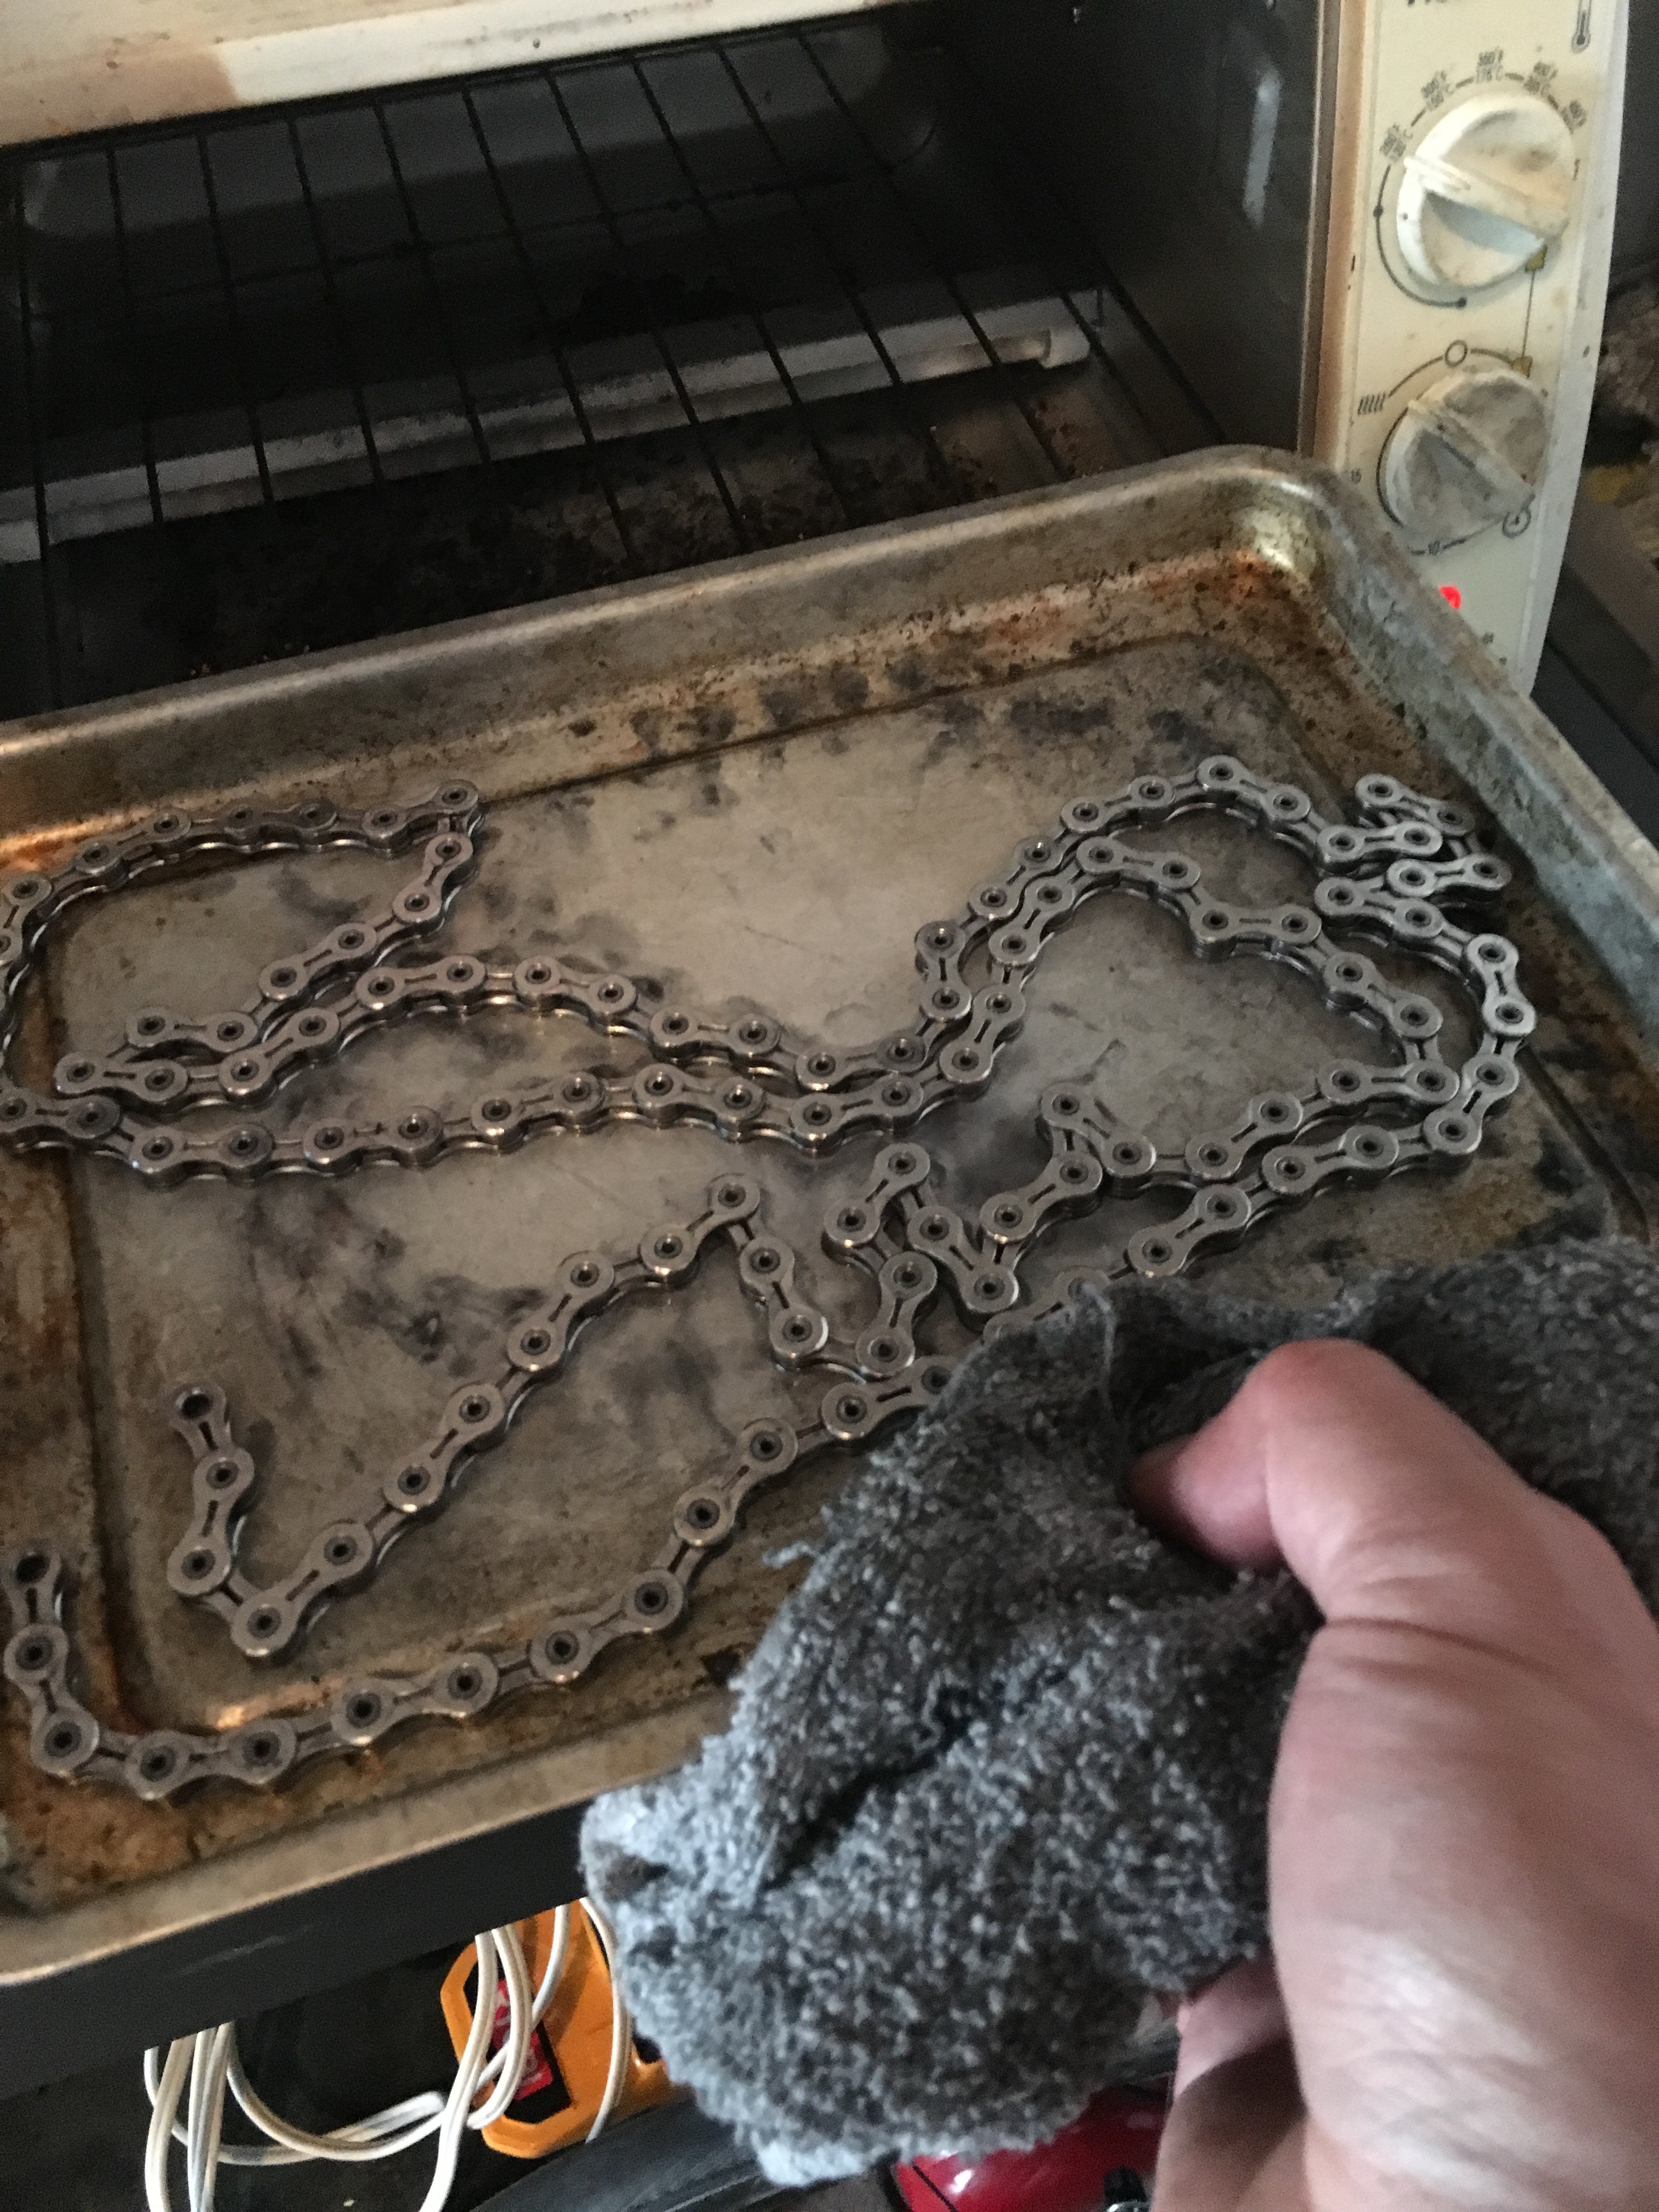 This is where you're going to put it to use. Heating the chain has a dual purpose in this case. First, it helps to dry out and evaporate any remaining cleaning solution in the chain itself. It also heats the chain and allows the wax to flow freely into the internals of the chain instead of congealing on the surface.
Friction Facts recommend heating the chain to about 200 degrees. Generally, 5-10 minutes in a 350-degree toaster oven is probably just fine.
Dip the chain and agitate
Once you've heated the chain up, it's time to lube. Pick it up with something (careful, it's going to be hot) and dunk it in the hot wax as shown below.
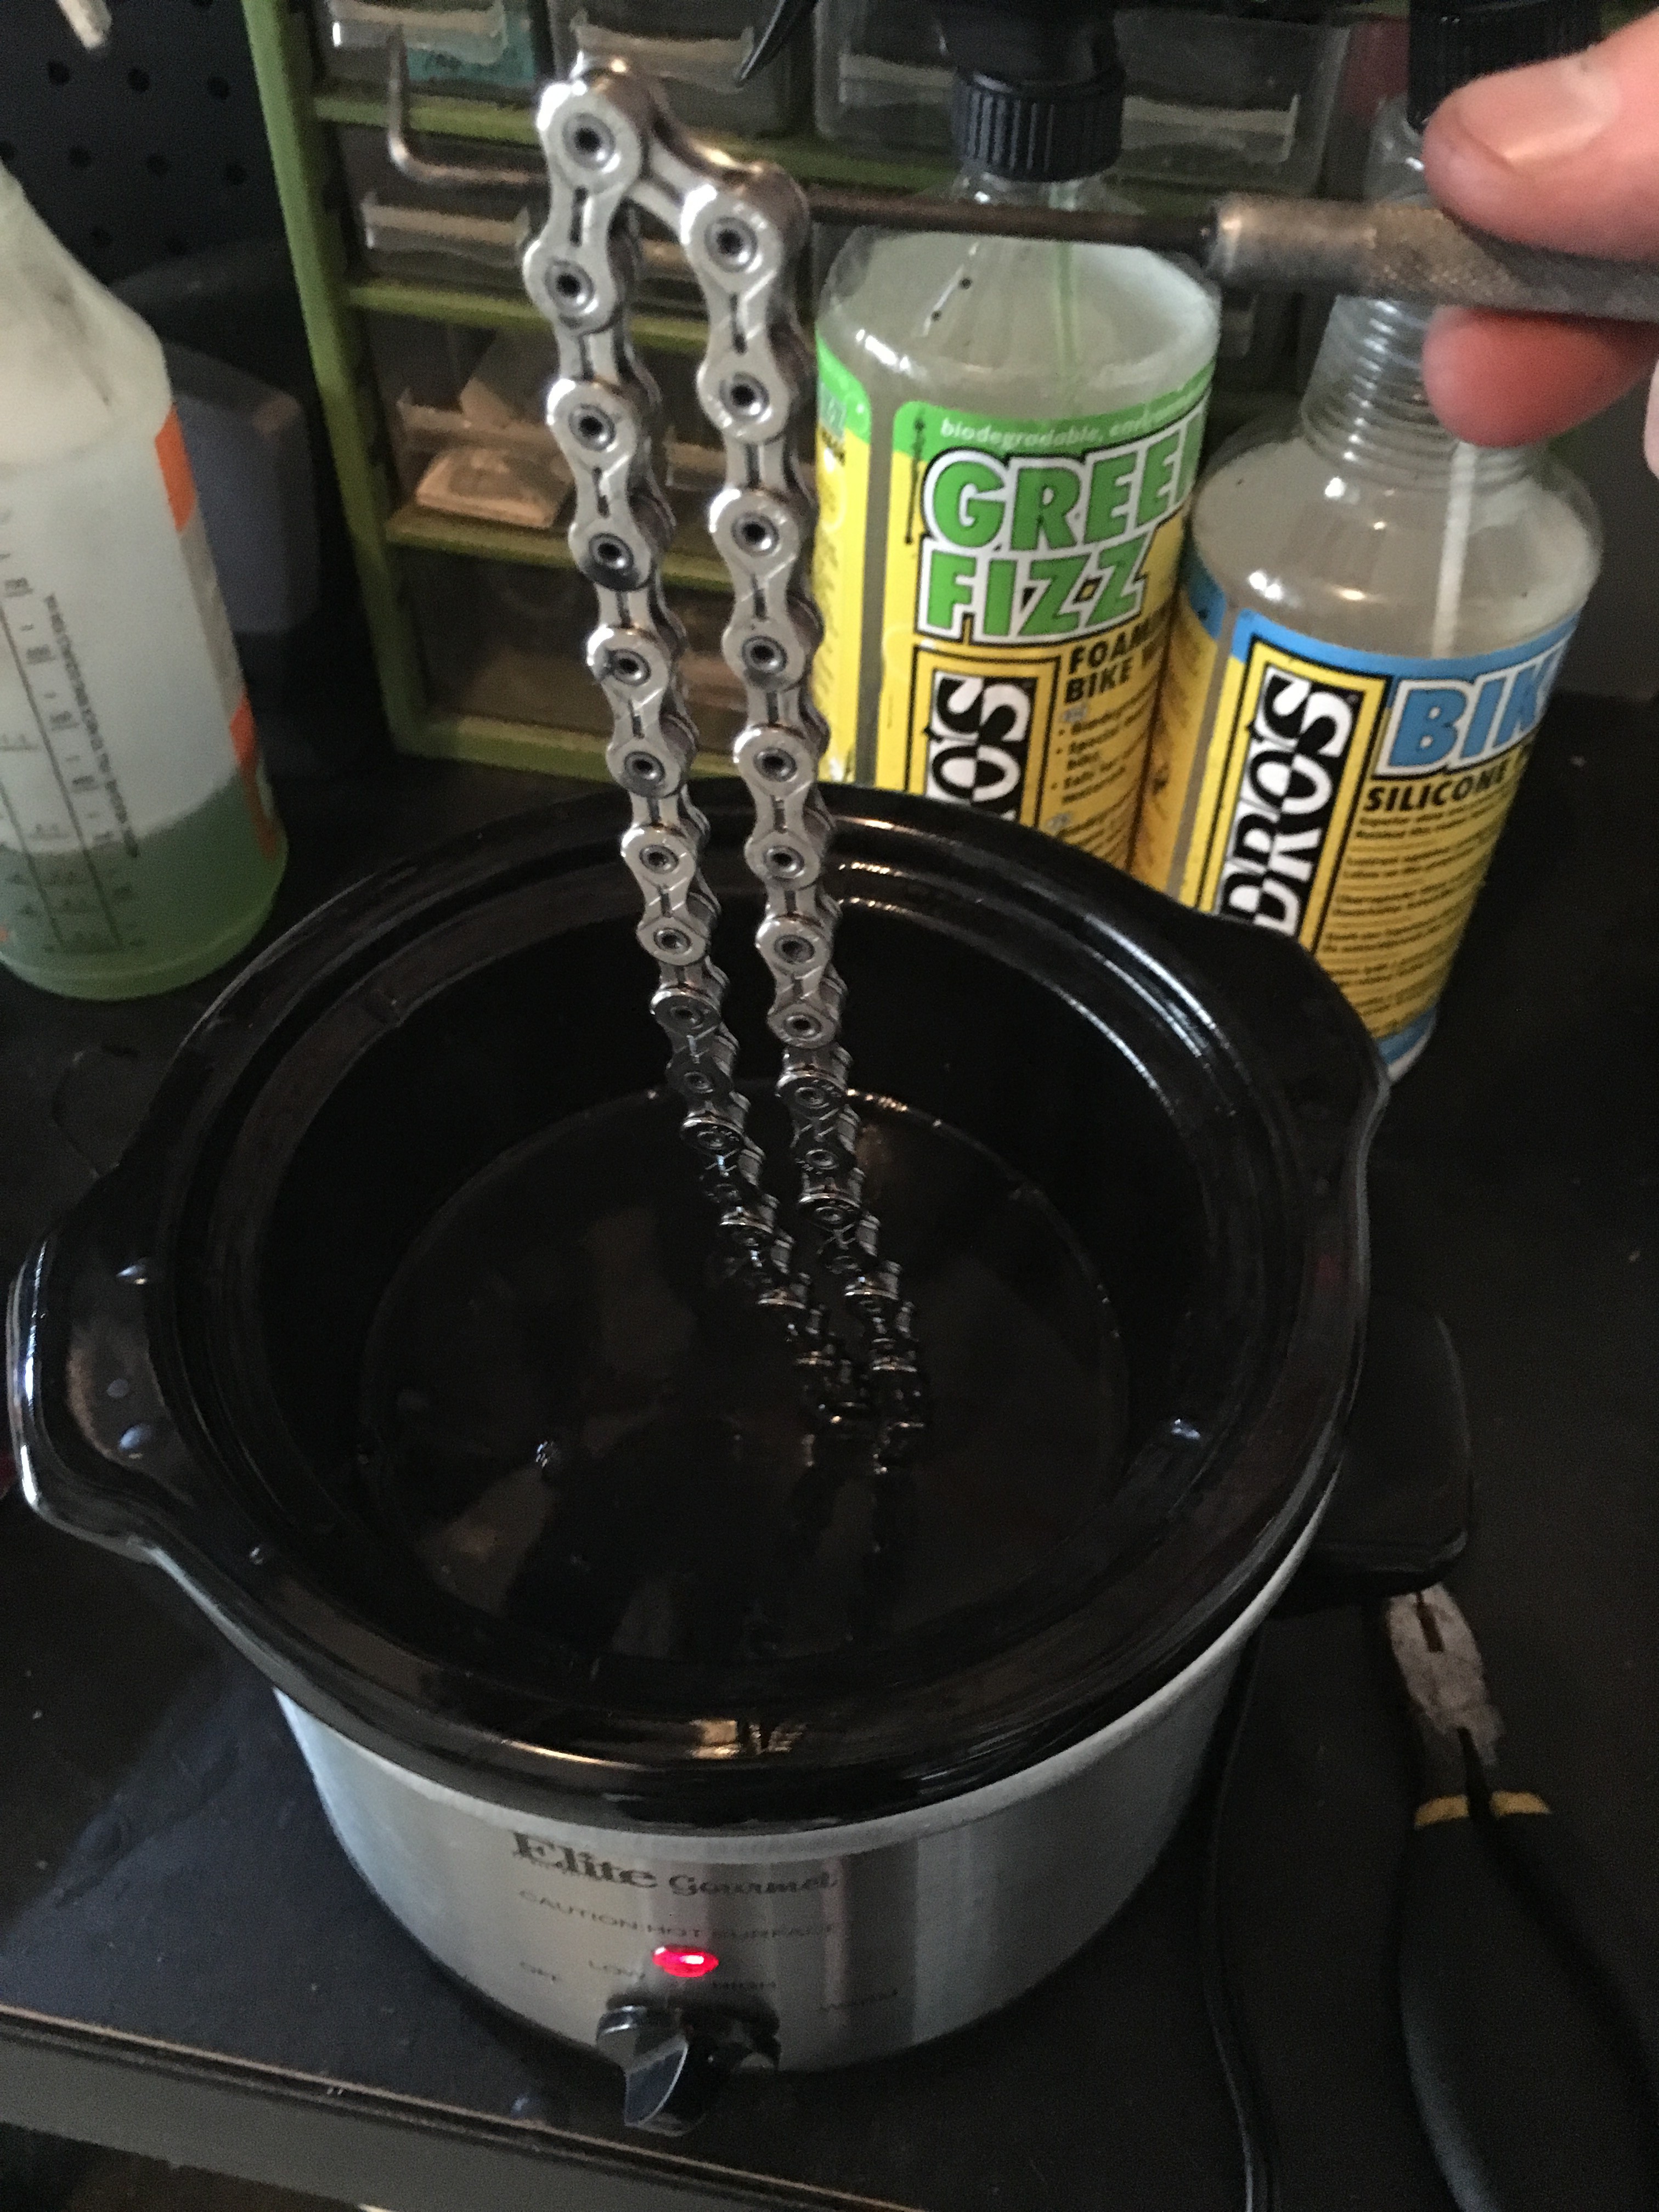 You'll want to agitate the chain for a few minutes to ensure the wax is able to penetrate each and every part of the chain. This is where Friction Facts recommends an ultrasonic agitator to ensure the chain is completely penetrated, but hand stirring is just fine for most of us.
Remove excess wax and lube
Grab the chain out of its wax bath and let it drip off. This will get most of the excess wax off quickly. It will also prevent the wax from caking in your shop towel or burning you as it soaks through the towel.
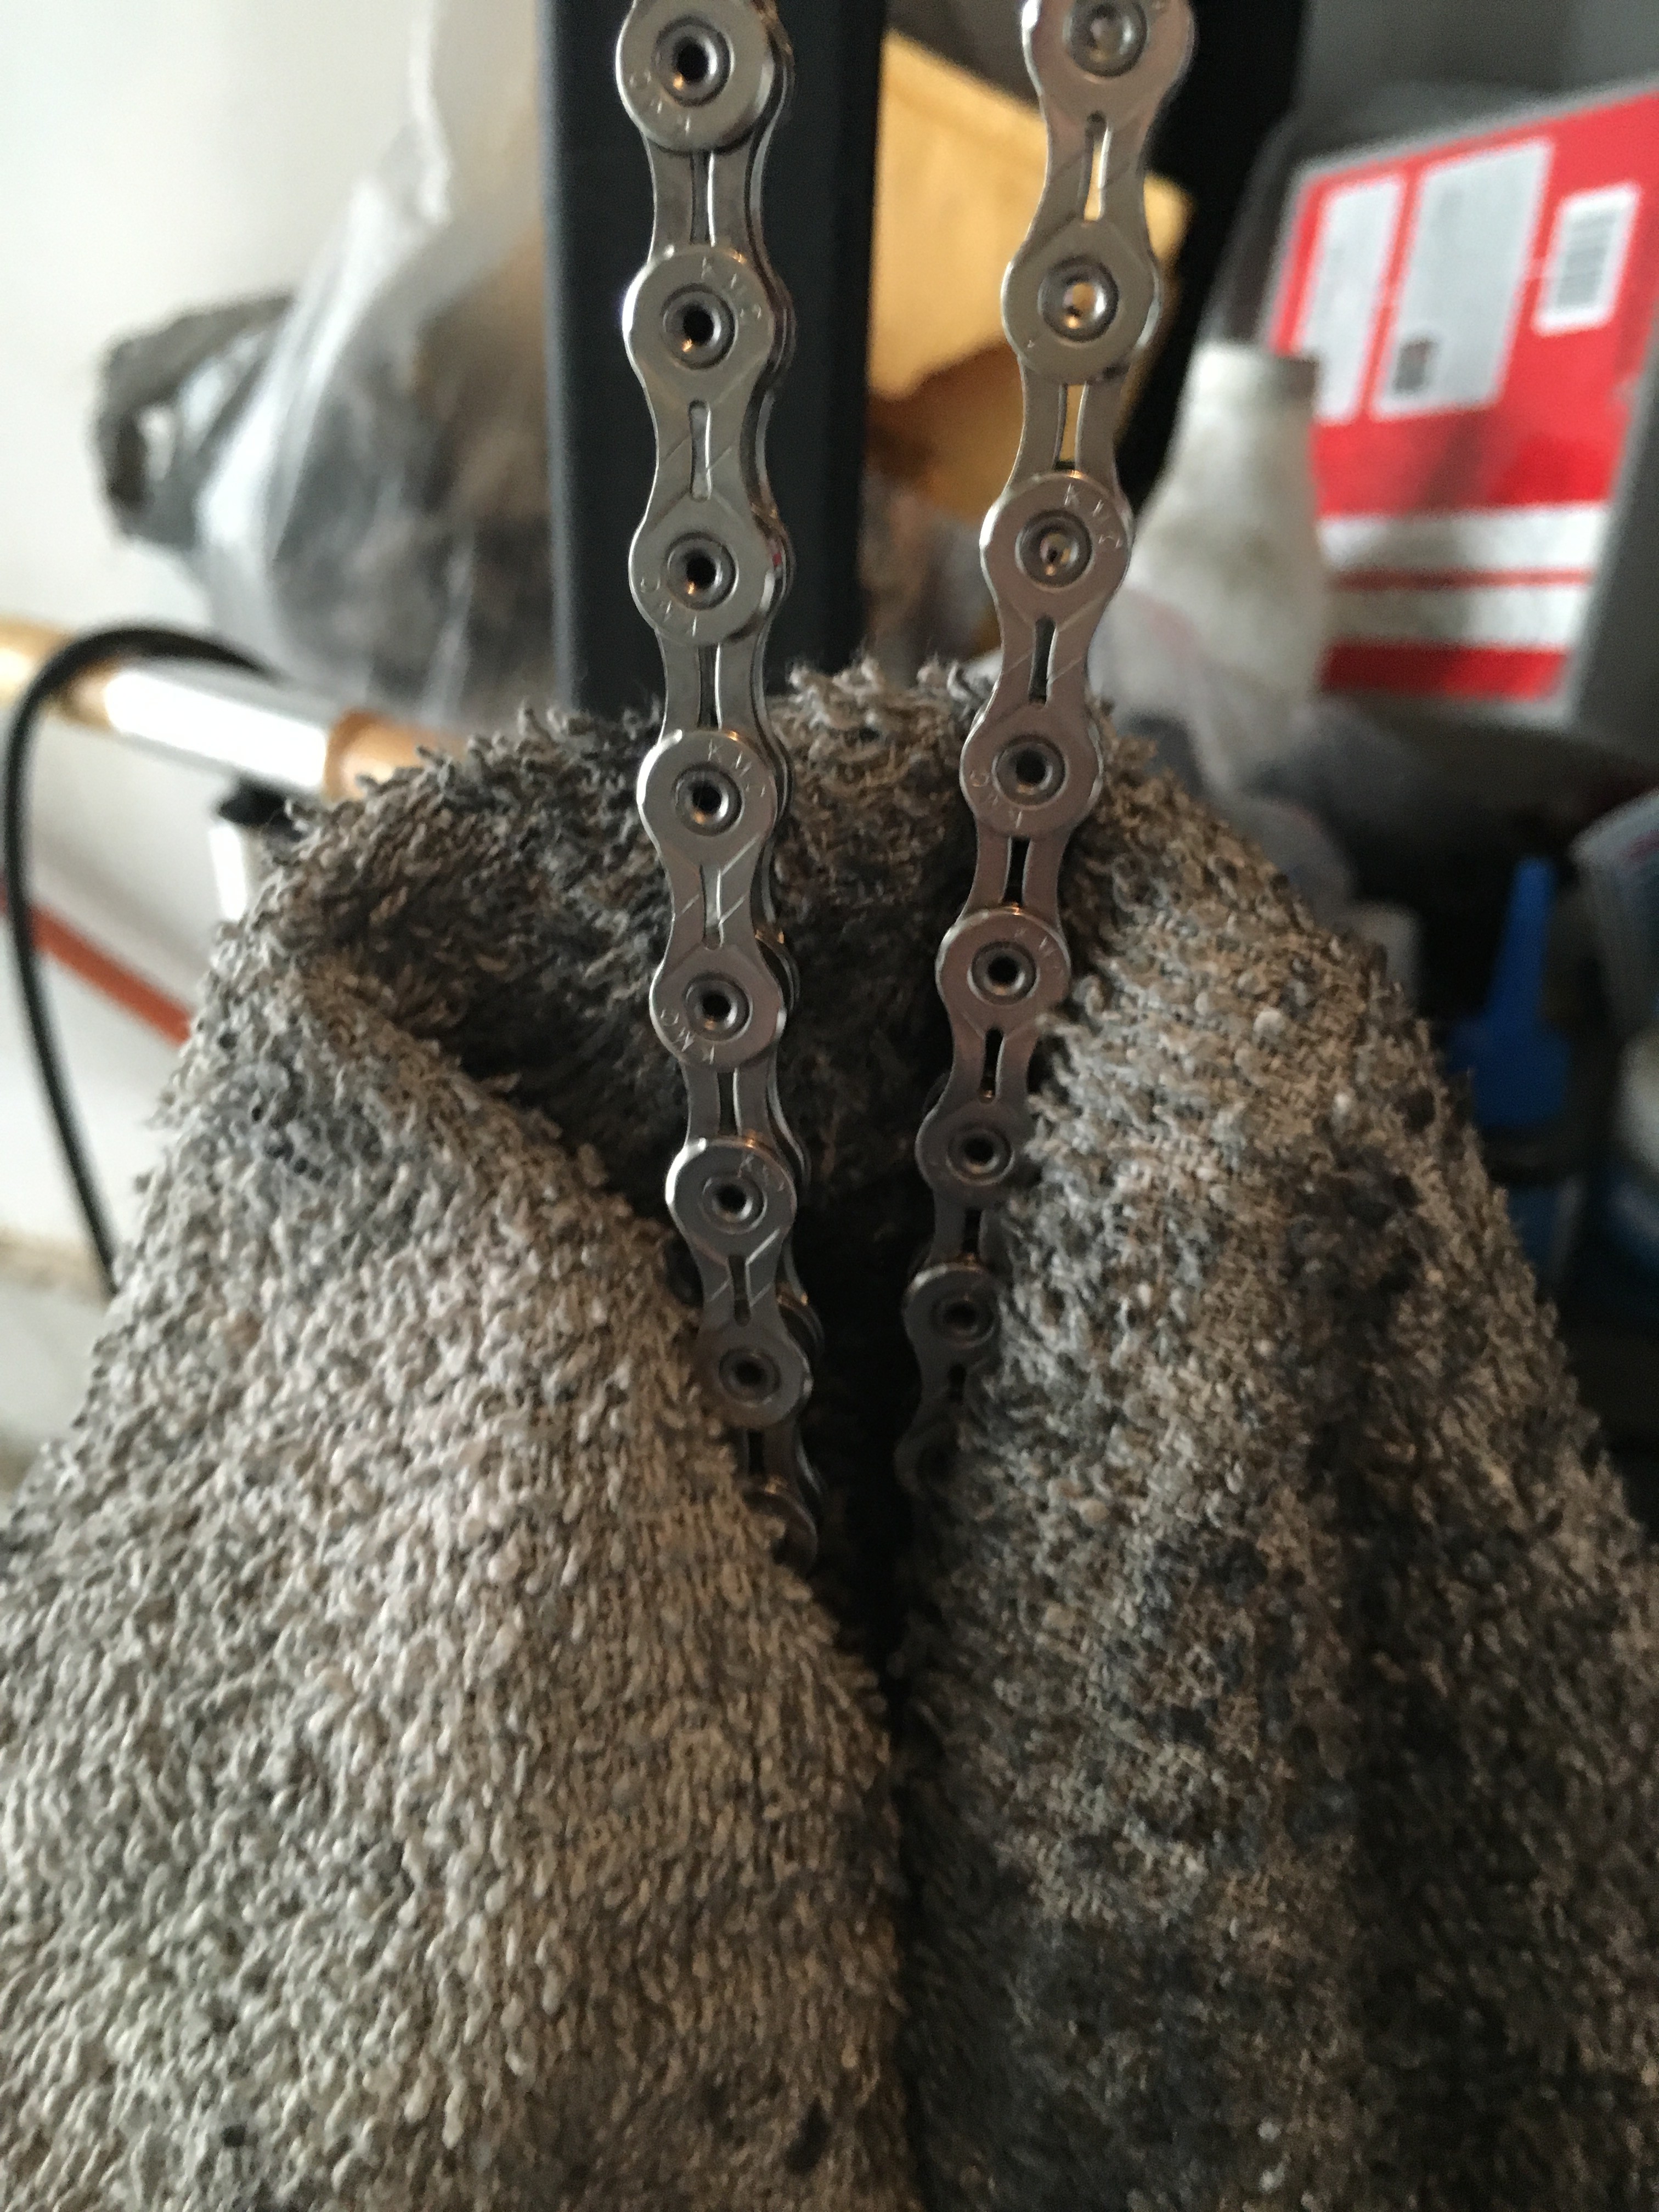 It's important to get as much excess wax off the outside of the chain so that it doesn't gum up the rest of your drivetrain.
Cool it, loosen it and install it
Once the chain has cooled and the wax is congealed, you need to loosen up the chain and install it. Before installing the chain I wrapped it around the handle of a bench vise and ran it back and forth to loosen it. Just pull one end, then the other to force the links to bend around the vise handle.
 Installation is a simple affair. If you have a new chain, you can follow the instructions in this post to size it properly. Once you have the chain installed on the drivetrain, you can give it some “run in” by jumping on the trainer and spinning for a few minutes. Alternatively, I spun the cranks while shifting through the cassette for a few minutes then took it out for a ride outside. This prevents any black wax bits from flying off onto your living room carpet.
Initial impressions and some thoughts
The initial impressions on the Friction Facts process have been relatively favorable. I like the fact that the chain doesn't pick up crap out on the road, even in the wet. There's no gritty feeling to the drivetrain after a couple hundred miles that occurs with oil-based lubricants. It also looks immaculate after a couple hundred miles of use. This includes some moisture infiltration after getting caught in a small cloudburst.
On the downside, the chain seems significantly louder than it was with oil-based lubricants. Typically, when cross chaining big/big, there is little to no noise in a properly lubricated drivetrain. With the paraffin wax lube, there's some distinctive clatter in the chain on the big/big combo. Outside of the big chainring and 2 biggest cogs, the chain is only marginally louder than one well lubricated with oil.
Initial durability seems to be very good with the paraffin lube. Friction Facts recommends repeating the process every 500ish miles to ensure proper lubrication. This isn't too bad of a time interval. For an average recreational cyclist, this would be 4 times a season. For a really avid racer, you may be re-lubing 8-10 times a year. This is still better than every 200 miles a normal lube lasts.
One way to offset the big time commitment of waxing a chain is to buy several new chains. You can wax them all at one time and then rotate them every 500 miles. Once you work through all the pre-waxed chains, clean them and re-lube them in bulk. They can hang, cleaned and waxed until needed. This bulk waxing process cuts down on the time commitment and makes changing to a new, clean chain a snap.