Gravel grinders have become one of the most popular types of cycling events out there. From events like Dirty Kanza and Battenkill to the myriad of smaller gravel grinders that happen on a weekly basis, people are learning that it's fun to turn down the road less traveled.
Whether you're riding a dedicated gravel bike or a regular road bike, there are plenty of things you can do to increase your enjoyment of a gravel grinder. In this episode of the Tailwind Coaching Podcast, I'll get into the basics of a solid gravel grinder training program. So click on through the jump and learn what you can do to handle the gravel a little better next time you want to get dirty.
Podcast: Play in new window | Download (Duration: 42:49 — 31.5MB)
Gravel Grinder Preparation
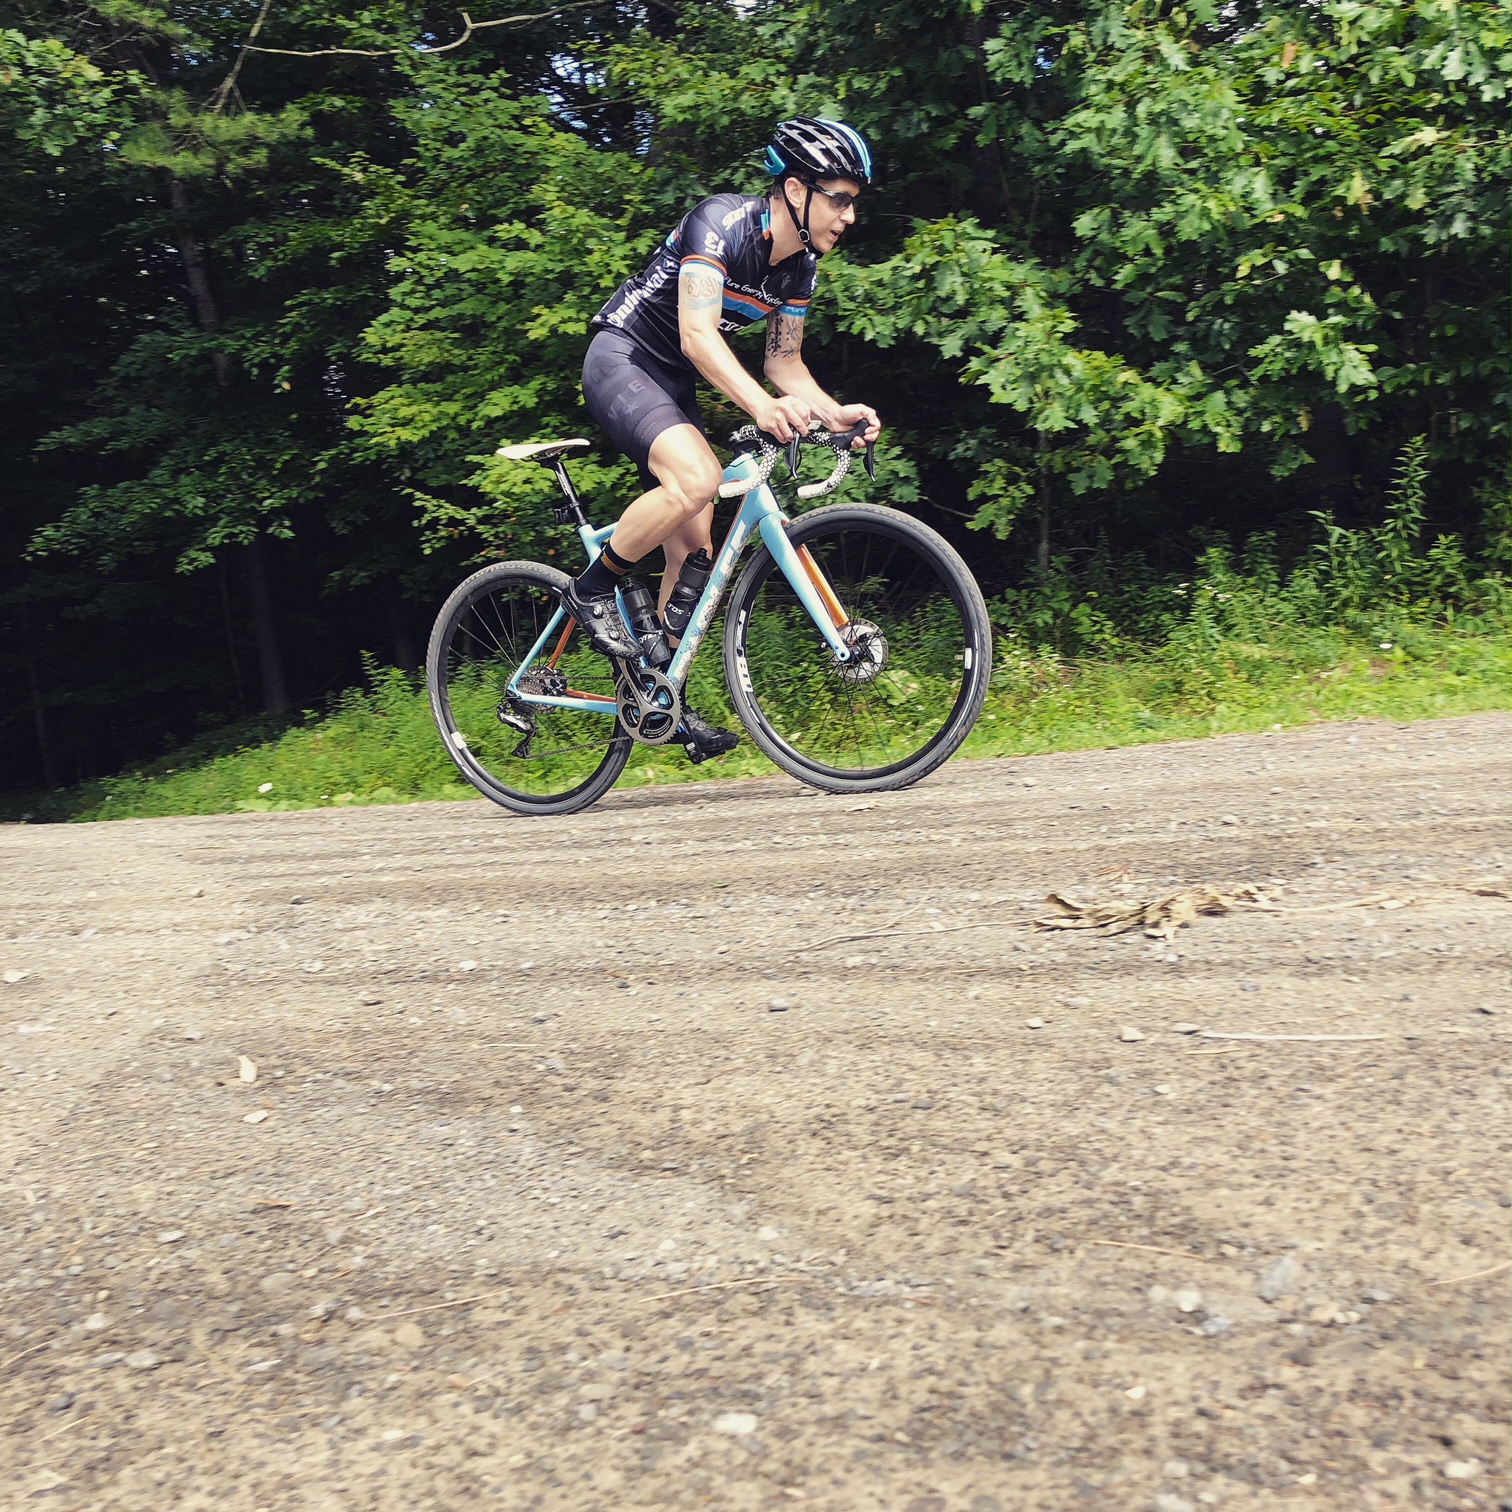
Getting dirty is a pretty simple affair. If you're not riding a dedicated gravel bike, there's no time like the present to look for one. Technology for mixed surfaces has come incredibly far in the past couple of years. New gravel style bikes can literally do it all. I wouldn't call it a “quiver killer” bike per se, but it sure can act as a road/gravel/cyclocross bike if chosen correctly.
If you're NOT riding a dedicated gravel bike, you can generally make some changes to a regular road bike to help make things a little more forgiving. Let's dive into some bike setup tips first.
Setting Up Your (Gravel) Bike
Bike setup is an intensely personal thing for sure. There are a few things you can do that will help to improve your comfort and maximize your performance on a gravel event.
One of the best things I've found for gravel riding is switching to a tubeless setup. Not only do you significantly reduce the risk of flats (it's impossible to pinch flat a tube that isn't there) but you can also run larger volume tires at lower pressures. The larger contact patch and lower pressure offers a level of comfort not common on typical road tires. In addition, the use of tubeless sealant can keep you rolling even in the event of a smaller puncture, often sealing the problem before you know you have one.
Of course, if you're going to run tubeless, you'll need to carry a tube anyway, along with a tubeless valve tool and pump. But you should be carrying a flat kit anyway, so that's nothing new, right?
When it comes to choosing a tire, a lot of folks will opt for a semi-knobby kind of tire that has a smooth center and some shoulder knobs for grip on the rough stuff. These kinds of tires offer a nice compromise between tarmac performance and gravel traction. The shoulder knobs in particular will help the tire feel stable on dirt and hook up on loose curves.
Gearing is worth a moment of discussion as well. With the increased resistance of dirt and gravel roads, you may want to think about swapping your gearing to something smaller. If your derailleur capacity is limited, a good compromise is to swap out your chainrings. Keep in mind that this is quite a bit different from regular road gearing, and you'll frequently experience much steeper gradients and worse traction on backwoods roads.
Other “quality of life” tweaks include thicker bar tape for vibration damping. Remote shifters (such as Di2 remote shifters) are a great tool as well, offering you tons of hand positions. Swapping out to mountain bike pedals and shoes may facilitate walking if the road gets too steep or hairy.
Once you've got your bike dialed in and ready to go, how do you go about building the fitness to roll like a boss? Let's start with the basics.
 Muscular Endurance
As I've always said, muscular endurance (ME) is one of the largest keys to success in any training plan. In the case of gravel grinders, you'll need even more ME than your average road cyclists. It's the key to lasting the distance without fatigue and cramping. That can mean the difference between success and failure.
In the past, I've talked about muscular endurance a bunch of times. To recap, ME is just the body's ability to resist muscular fatigue while under pedaling tension. Basically, if you want to put more power to the ground, you'll need to do one of two things. You can either put greater tension through the pedals (essentially pushing harder) or you can spin the pedals faster. In many cases, we choose to put additional tension through the pedals. Imagine this: your riding buddy opens a gap on you as you start climbing. You have to dig in and push hard on the pedals in order to catch them.
The more often you have to do this, the more fatigued your legs will become. Eventually, when they simply can't handle the demands placed on them, they'll cramp. Or maybe they just won't put out the power necessary anymore. Either way, you've exceeded your body's muscular endurance capacity.
The problem with a gravel grinder is that the surfaces typically found on the ride offer significantly more resistance than smooth road. Because there's greater resistance on the wheels and often much harder terrain, you'll use more muscular tension overall. So for that reason, you'll need to work up the muscular endurance for your next gravel grinder.
Aerobic Endurance
Aerobic endurance is just another way of saying “you can go long” in a fancy way. In reality, it's the ability for your body to deliver oxygen to your working muscles and maintain a set amount of power output. “But wait, isn't that FTP?” Nope, FTP is just a specific level of power that your body can maintain before becoming predominantly anaerobic. Aerobic endurance is the ability for your body to consistently produce power around that functional threshold level for long periods of time.
It should be obvious that aerobic endurance is important for a gravel grinder training program.
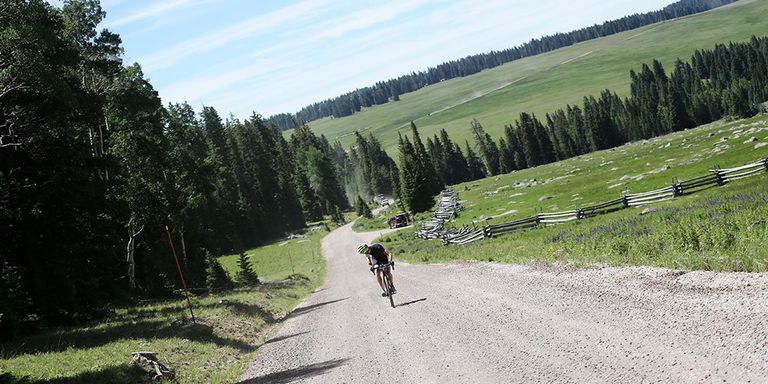
Most gravel grinders are longer events, some up into the 200 mile range (think Dirty Kanza). That’s a lot of mileage to have to produce power for, and it requires a lot of endurance. In the case of a gravel grinder, you’ll need to ensure you’ve tacked on enough endurance training to handle the longest possible time and distance on tap for your season goals
 VO2 Max Capacity
VO2 max capacity is a critical part of your endurance training. In previous posts, I’ve talked about VO2 max as a necessary part of raising your endurance ceiling. It is true that your VO2 max is partially genetically determined. But in most cases, we’re not trained enough to hit that genetic limit. We’re only ever using a portion of that VO2 max capacity at any given time. Training wise, our FTP is just a sustainable percentage of that useable VO2 max limit.
So it follows that if you need to get more endurance capacity, you need to raise the fitness ceiling.
Not only is VO2 max important from that perspective, it’s also a necessary component of handling accelerations, changes in pace and changes in terrain. If your body is not trained to handle going into the red zone once or twice, it won’t be able to recover from multiple efforts at all. If you can only cope with a couple of red zone efforts, you’ll be popped before you finish and any hope of a solid time will be out the window.
So, to cover your bases, you'll have to work short and long duration VO2 max efforts as well as repeatability.
Muscular Strength
You would probably think that muscular strength is the same as muscular endurance. You would be partly correct in thinking the two are related, but they’re not the same.
Strength is the ability to put power into the pedals while muscular endurance is the ability to put power to the pedals for long periods of time. Both are critically important to your success in a gravel grinder. If you can’t put power to the pedals to push through dirt and gravel segments, you can’t make good time.
Similarly, if you don’t have the endurance to push through multiple dirt and gravel segments, you can’t make good time either.
Muscular strength also has another important place in gravel riding. You need to be able to push large gears hard if you want to power through unpaved segments. If you try to spin up a loose unpaved climb, chances are your wheel will lose traction and spin. This is because most riders are a bit choppy in their pedal stroke, leading to some awkward torque delivery. The sudden bursts of high torque on the wheel can break it away, cussing it to spin.
So if you want to keep power to the rear wheel, the easiest way to do it is to shift into a harder gear and keep tension on the pedals the whole way around. This requires the strength to push hard on the pedals and maintain that tension all the way through the pedal stroke.
 Pedal Stroke Smoothness
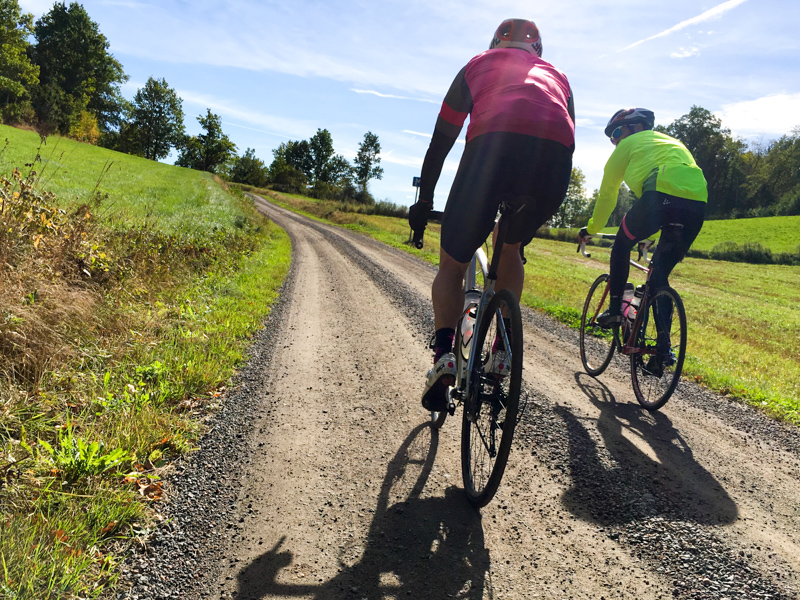
Similar to muscular strength, pedal stroke smoothness is one of the keys to keeping your rear wheel glued to the ground. When the going gets slippery, the smoothness of your pedal stroke will be one of the things that keep you going.
I've talked about the benefits of pedal stroke smoothness in the past. A couple of times in fact. In those previous posts, I talked about why pedal stroke work is important from the perspective of efficiency. The idea in most cases is to minimize power losses that would normally go into your pedals. On any smooth road, this would be your ultimate goal. More power goes into the pedals and more speed comes out of the bike. Any energy lost as poor coordination between muscle fiber twitches is lost speed.
In the case of a gravel grinder, you really need to worry more about keeping your wheels glued to the ground. No, I'm not talking about preventing you from catching air on a descent. That's a whole different issue. I'm talking about the propensity of your rear wheel to spin, especially on dirt and graveled climbs.
With dirt and gravel, it's much easier to overcome the coefficient of friction that keeps the wheel pushing the bike forward. The smoother your pedal stroke, the less opportunity there is for a surge of torque to break the wheel loose. The best example of this is on a trainer that is driven by the rear wheel (any kind of non-direct drive trainer, actually.) If you stand up and stomp on the pedals, the rear wheel can sometimes slip. By evening out your pedal stroke effort, the wheel grips again and you're back in business.
This is no different than a gravel climb.
How do you work through efficiency? Intervals such as superspins, spinups, (and especially) single leg drills come in very handy here. Check out the links to the posts above to get some more details on each of those.


